Join me for a FREE Soft Circuits Workshop with Today at Apple

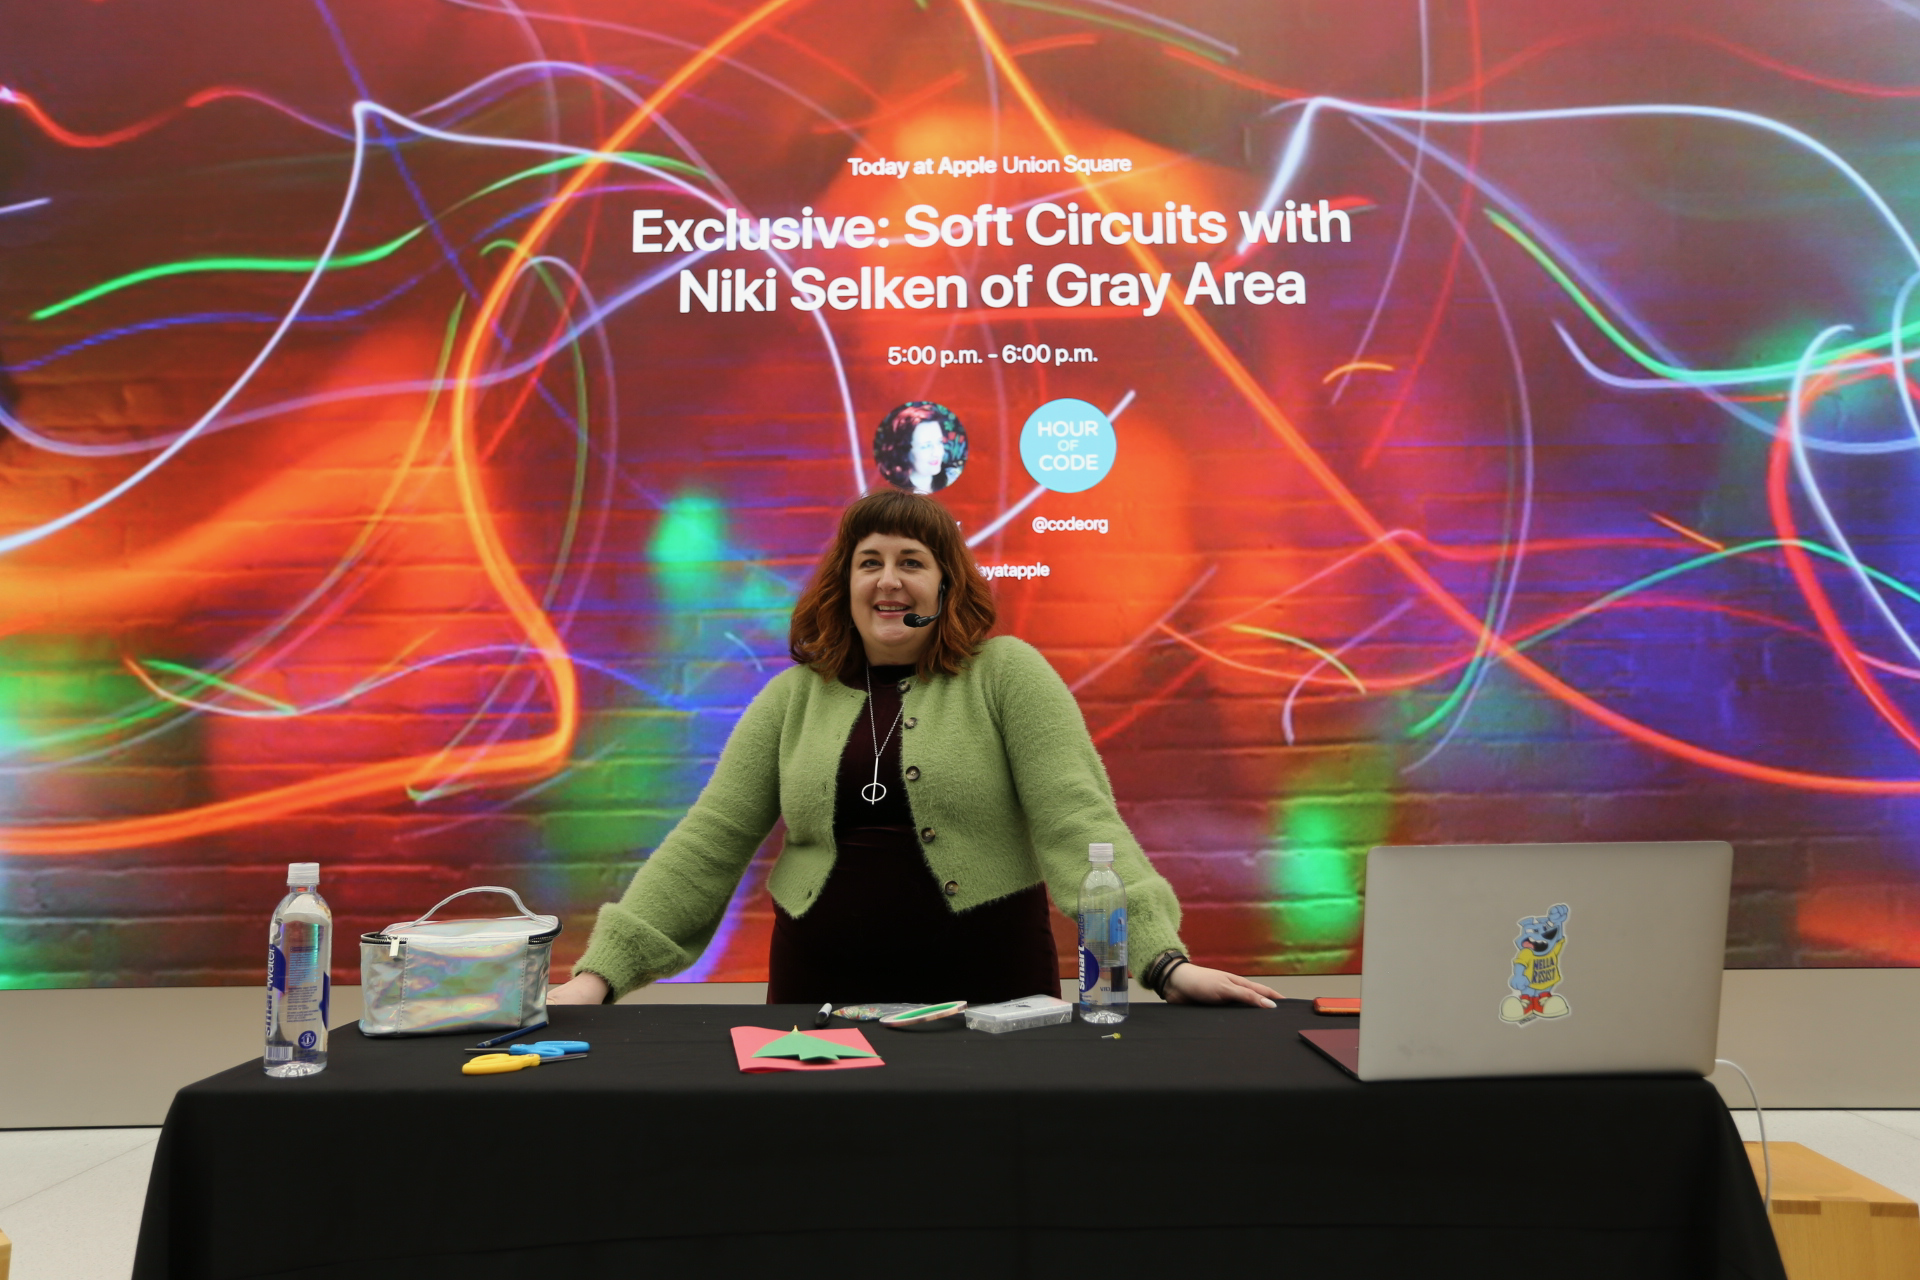
Join Me on December 5th at 5pm for a Soft Circuits Workshop as part of The Hour of Code at the SF Apple Store.

Unleash your imagination during our Code with Apple series and explore how circuits work with Niki Selken, creative director of Gray Area. She’ll show you how to craft a soft circuit using simple materials. Participants will get hands-on and experiment with paper, copper tape, and LED stickers to create a circuit of their own. Materials will be provided and all ages are welcome.

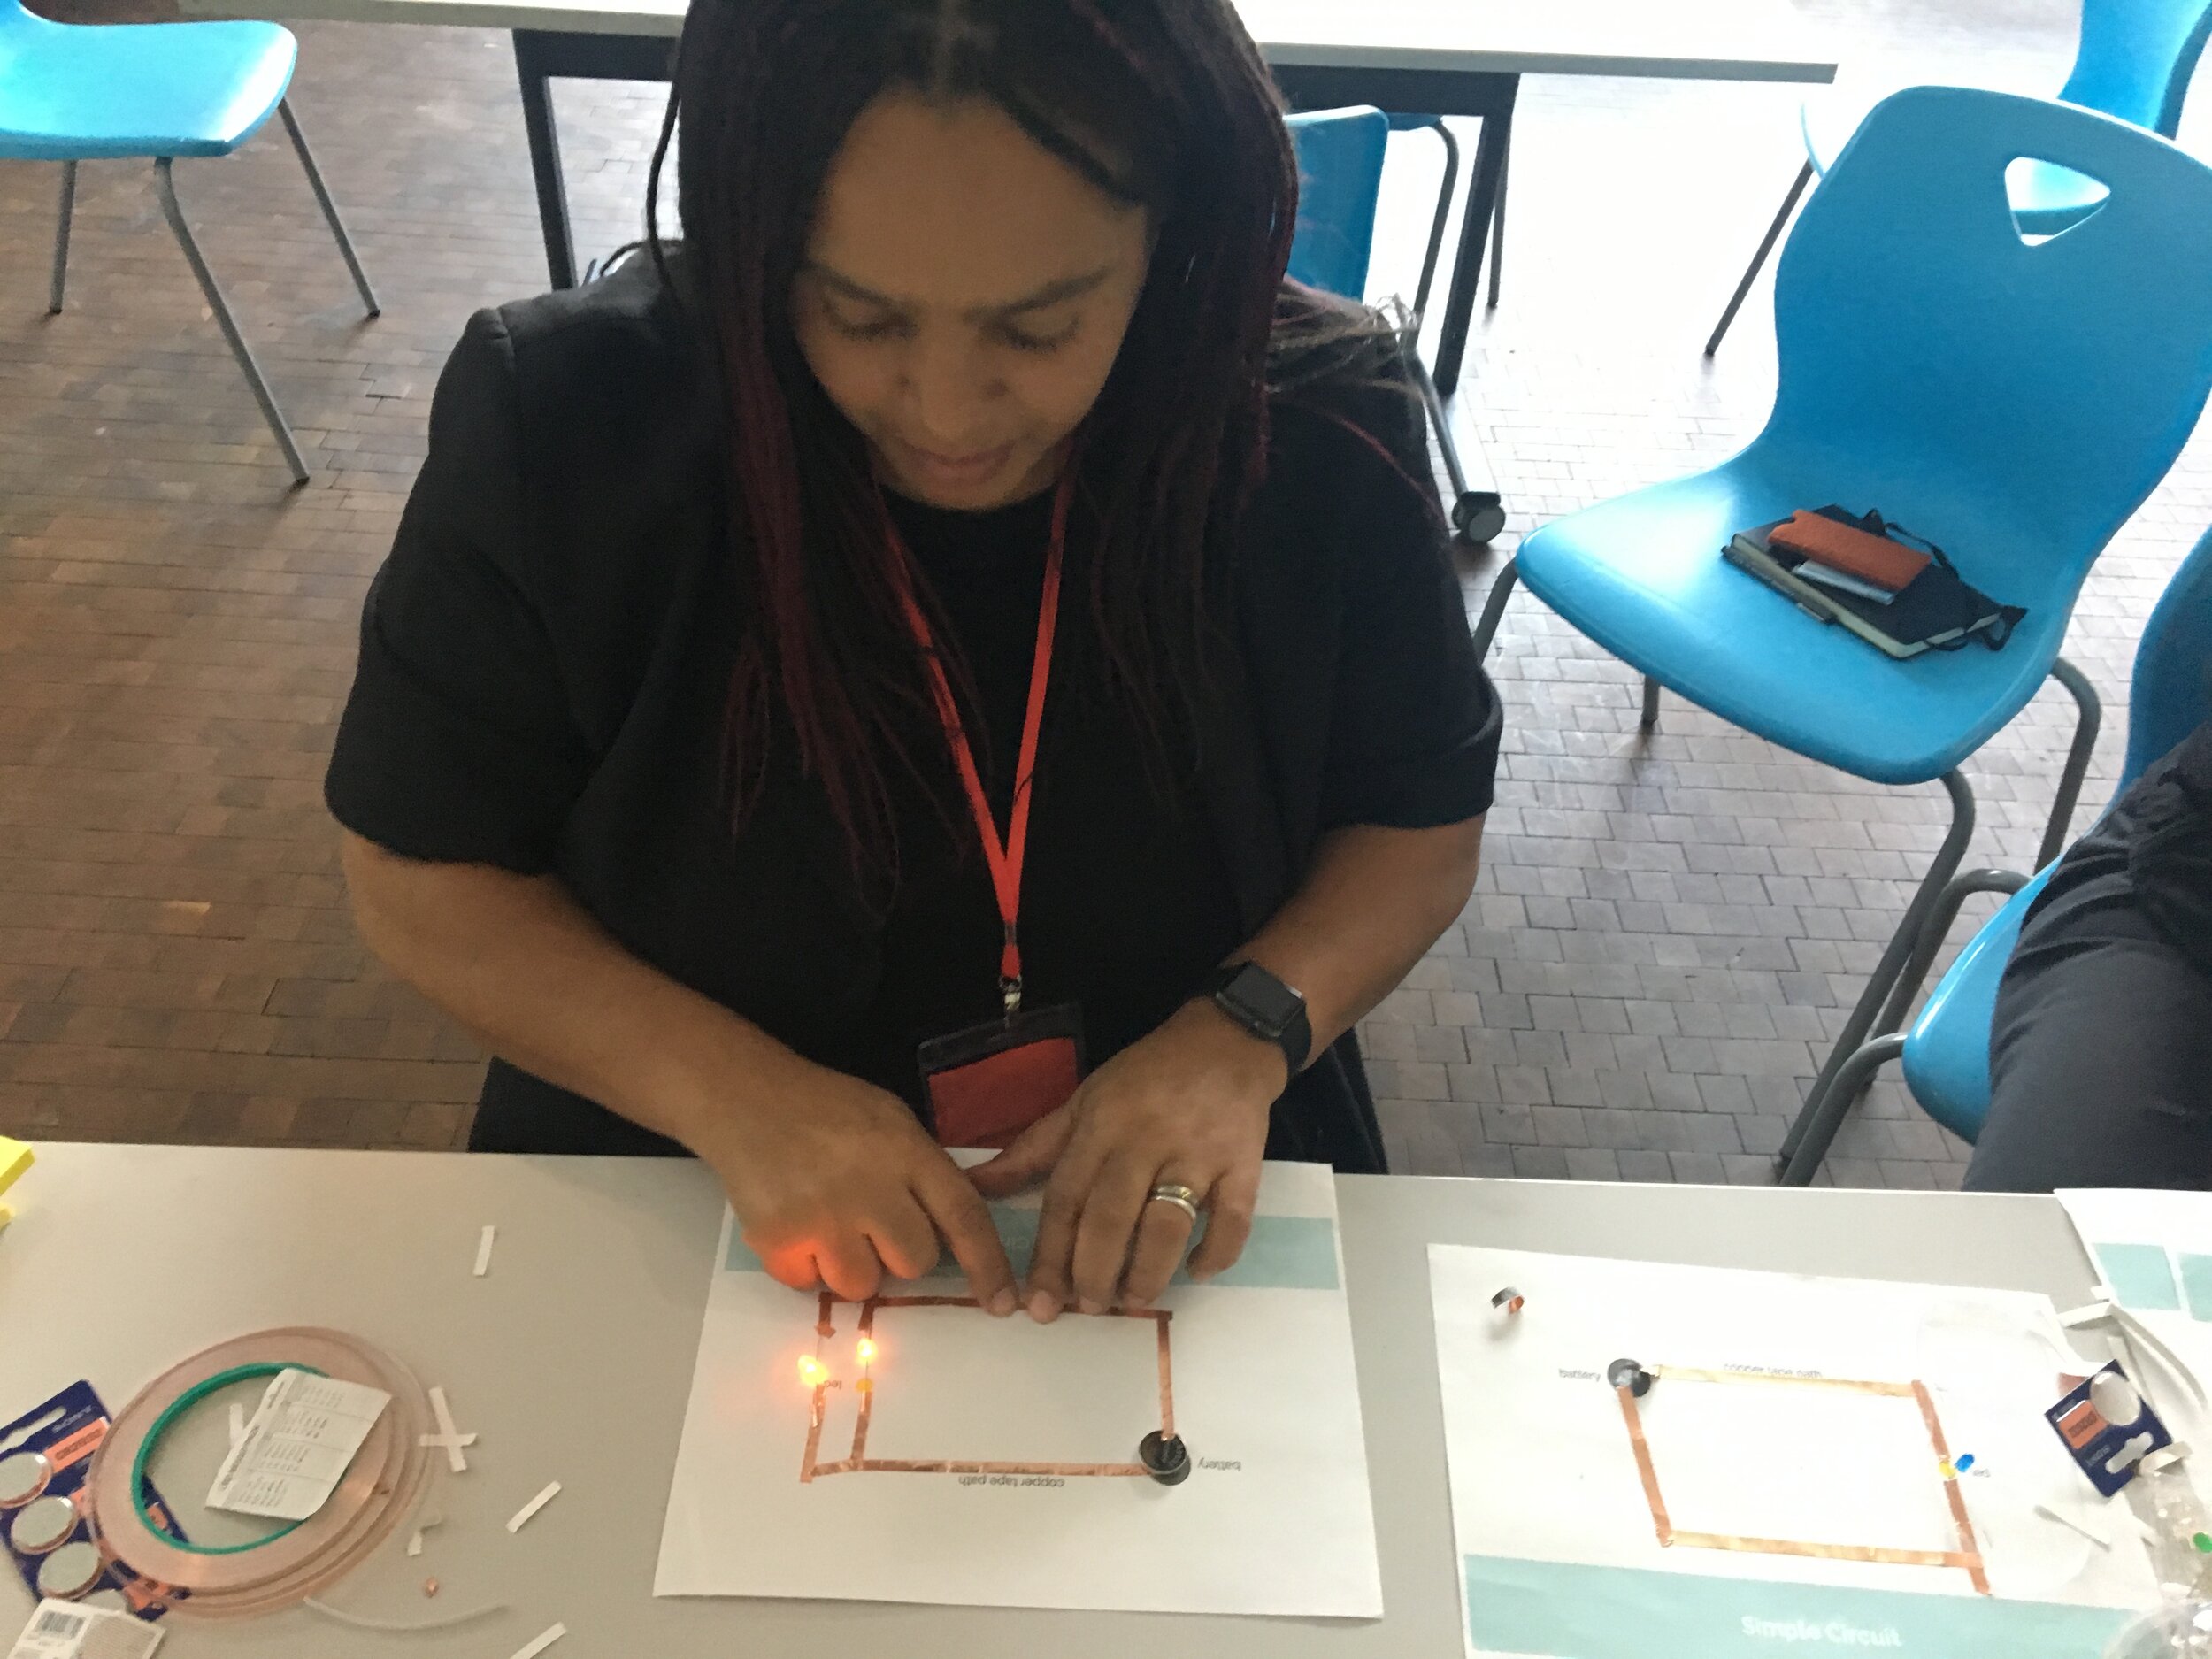
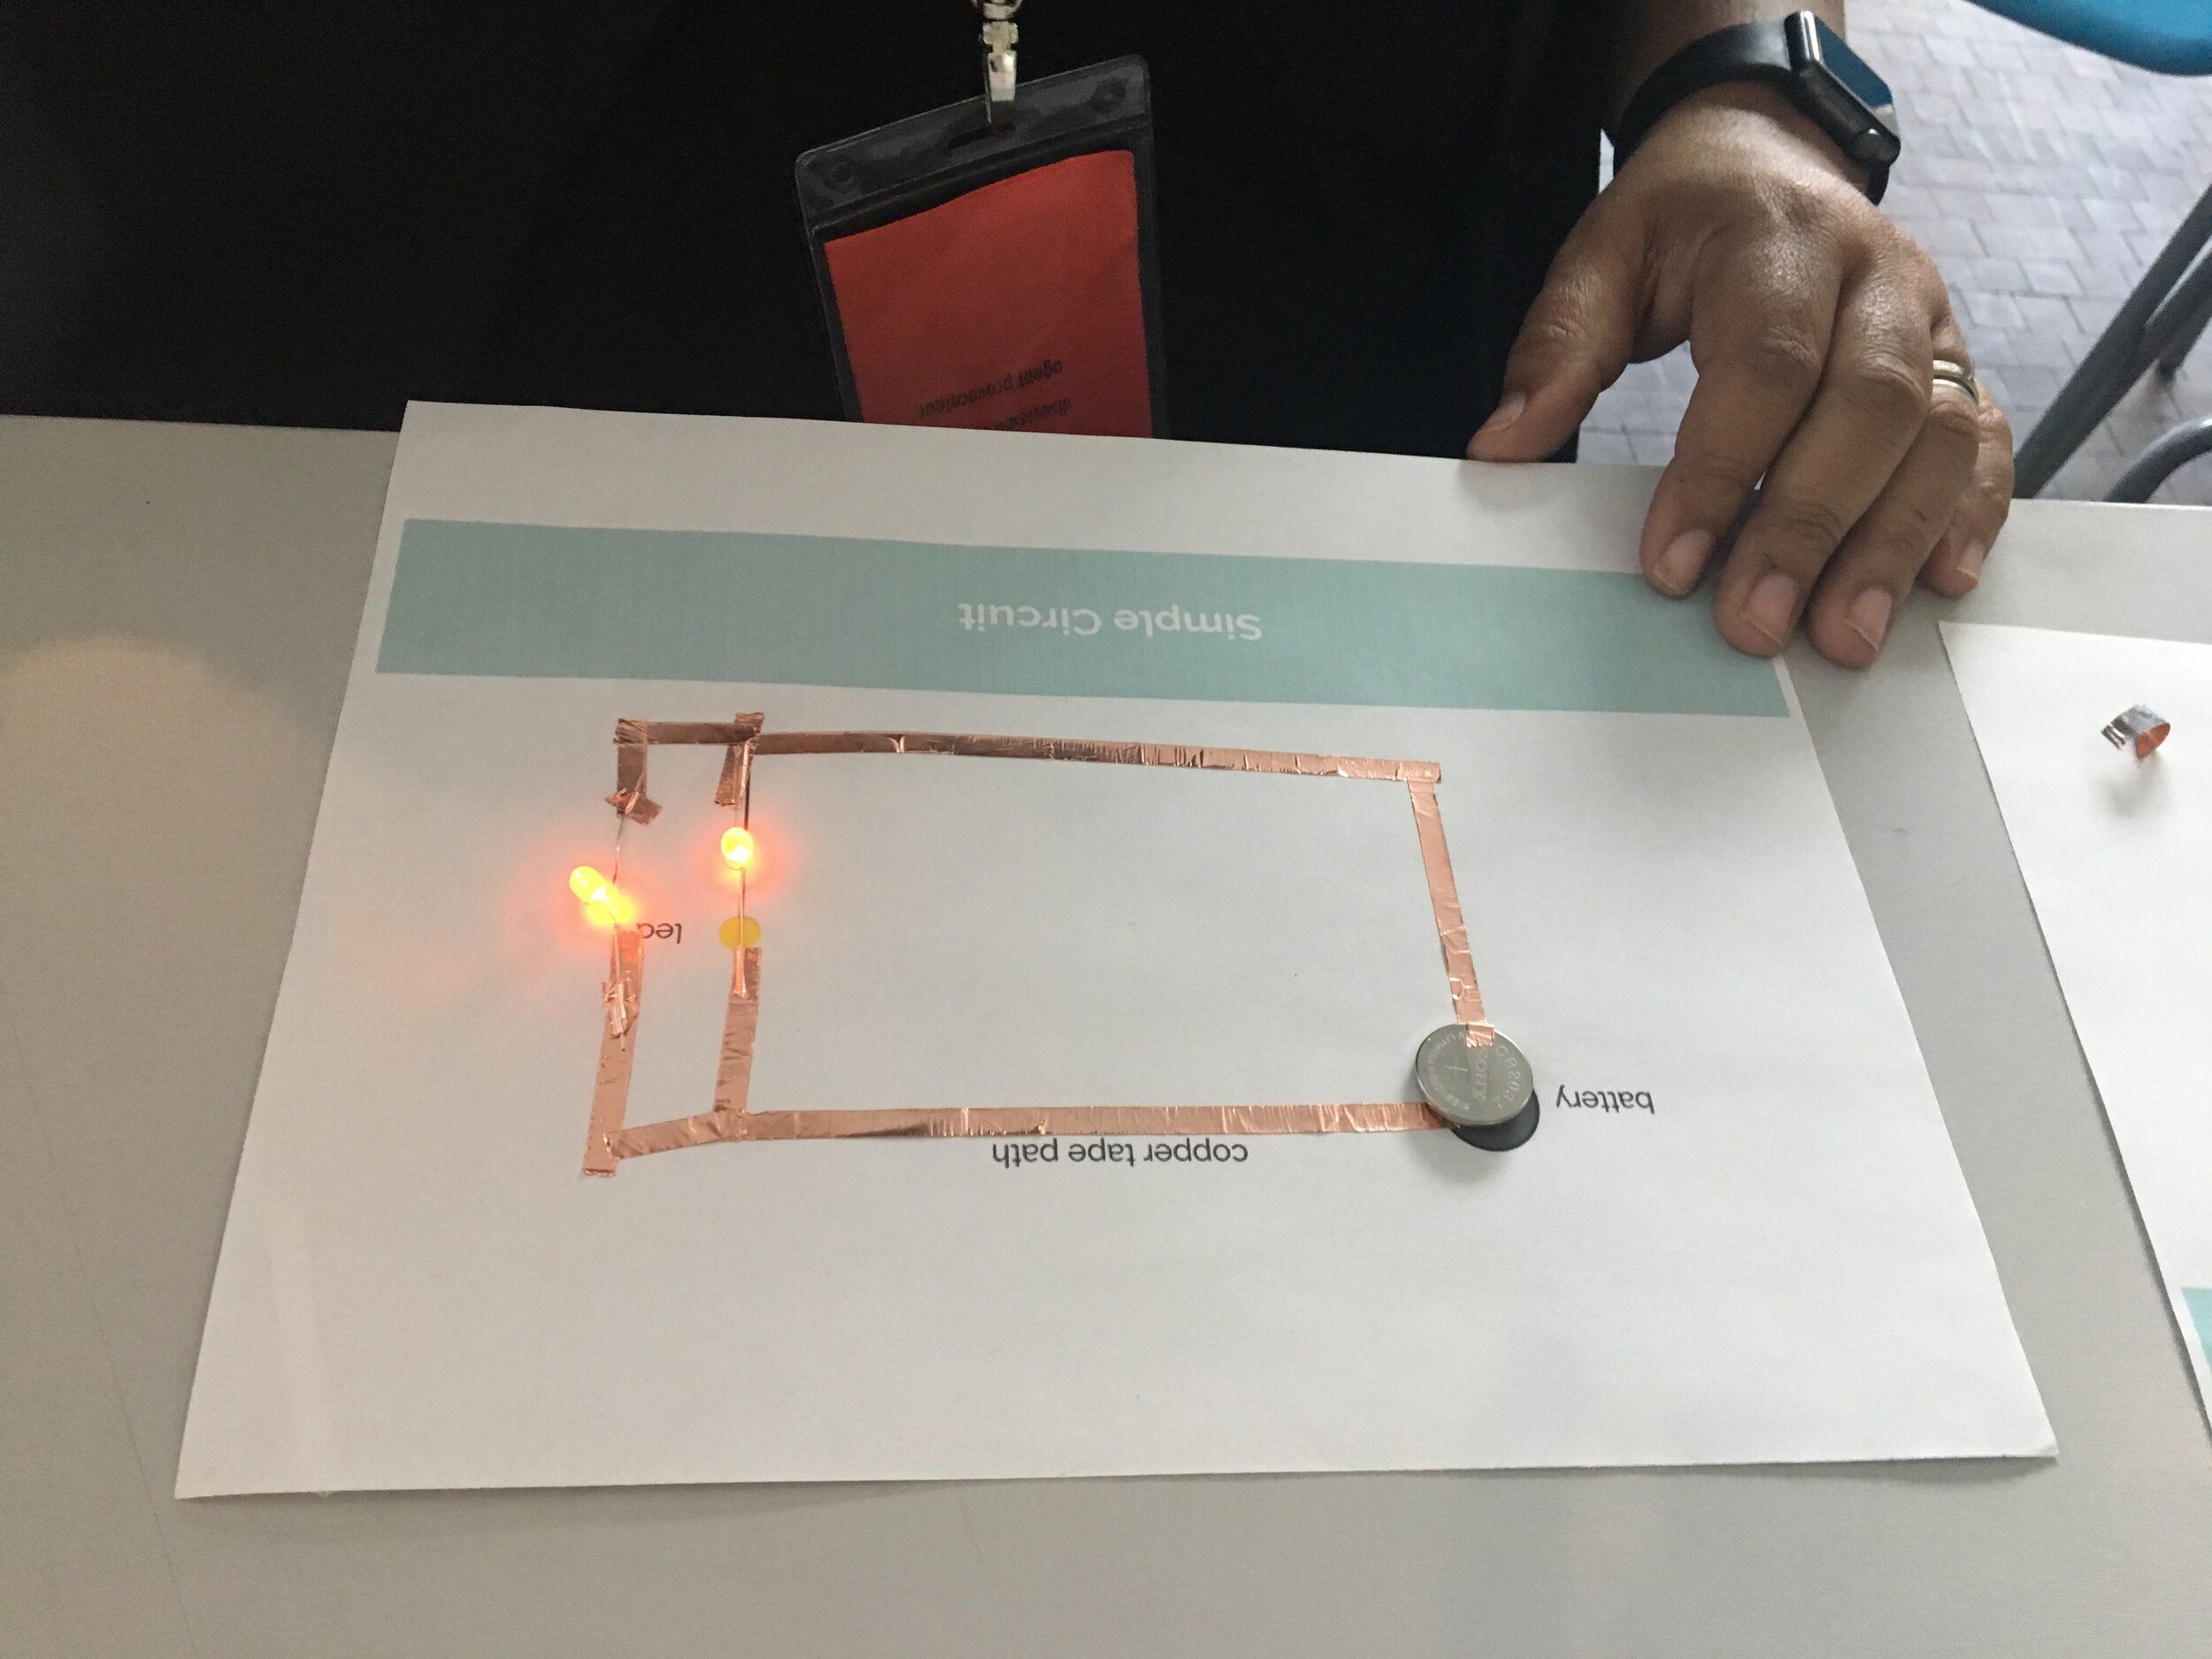
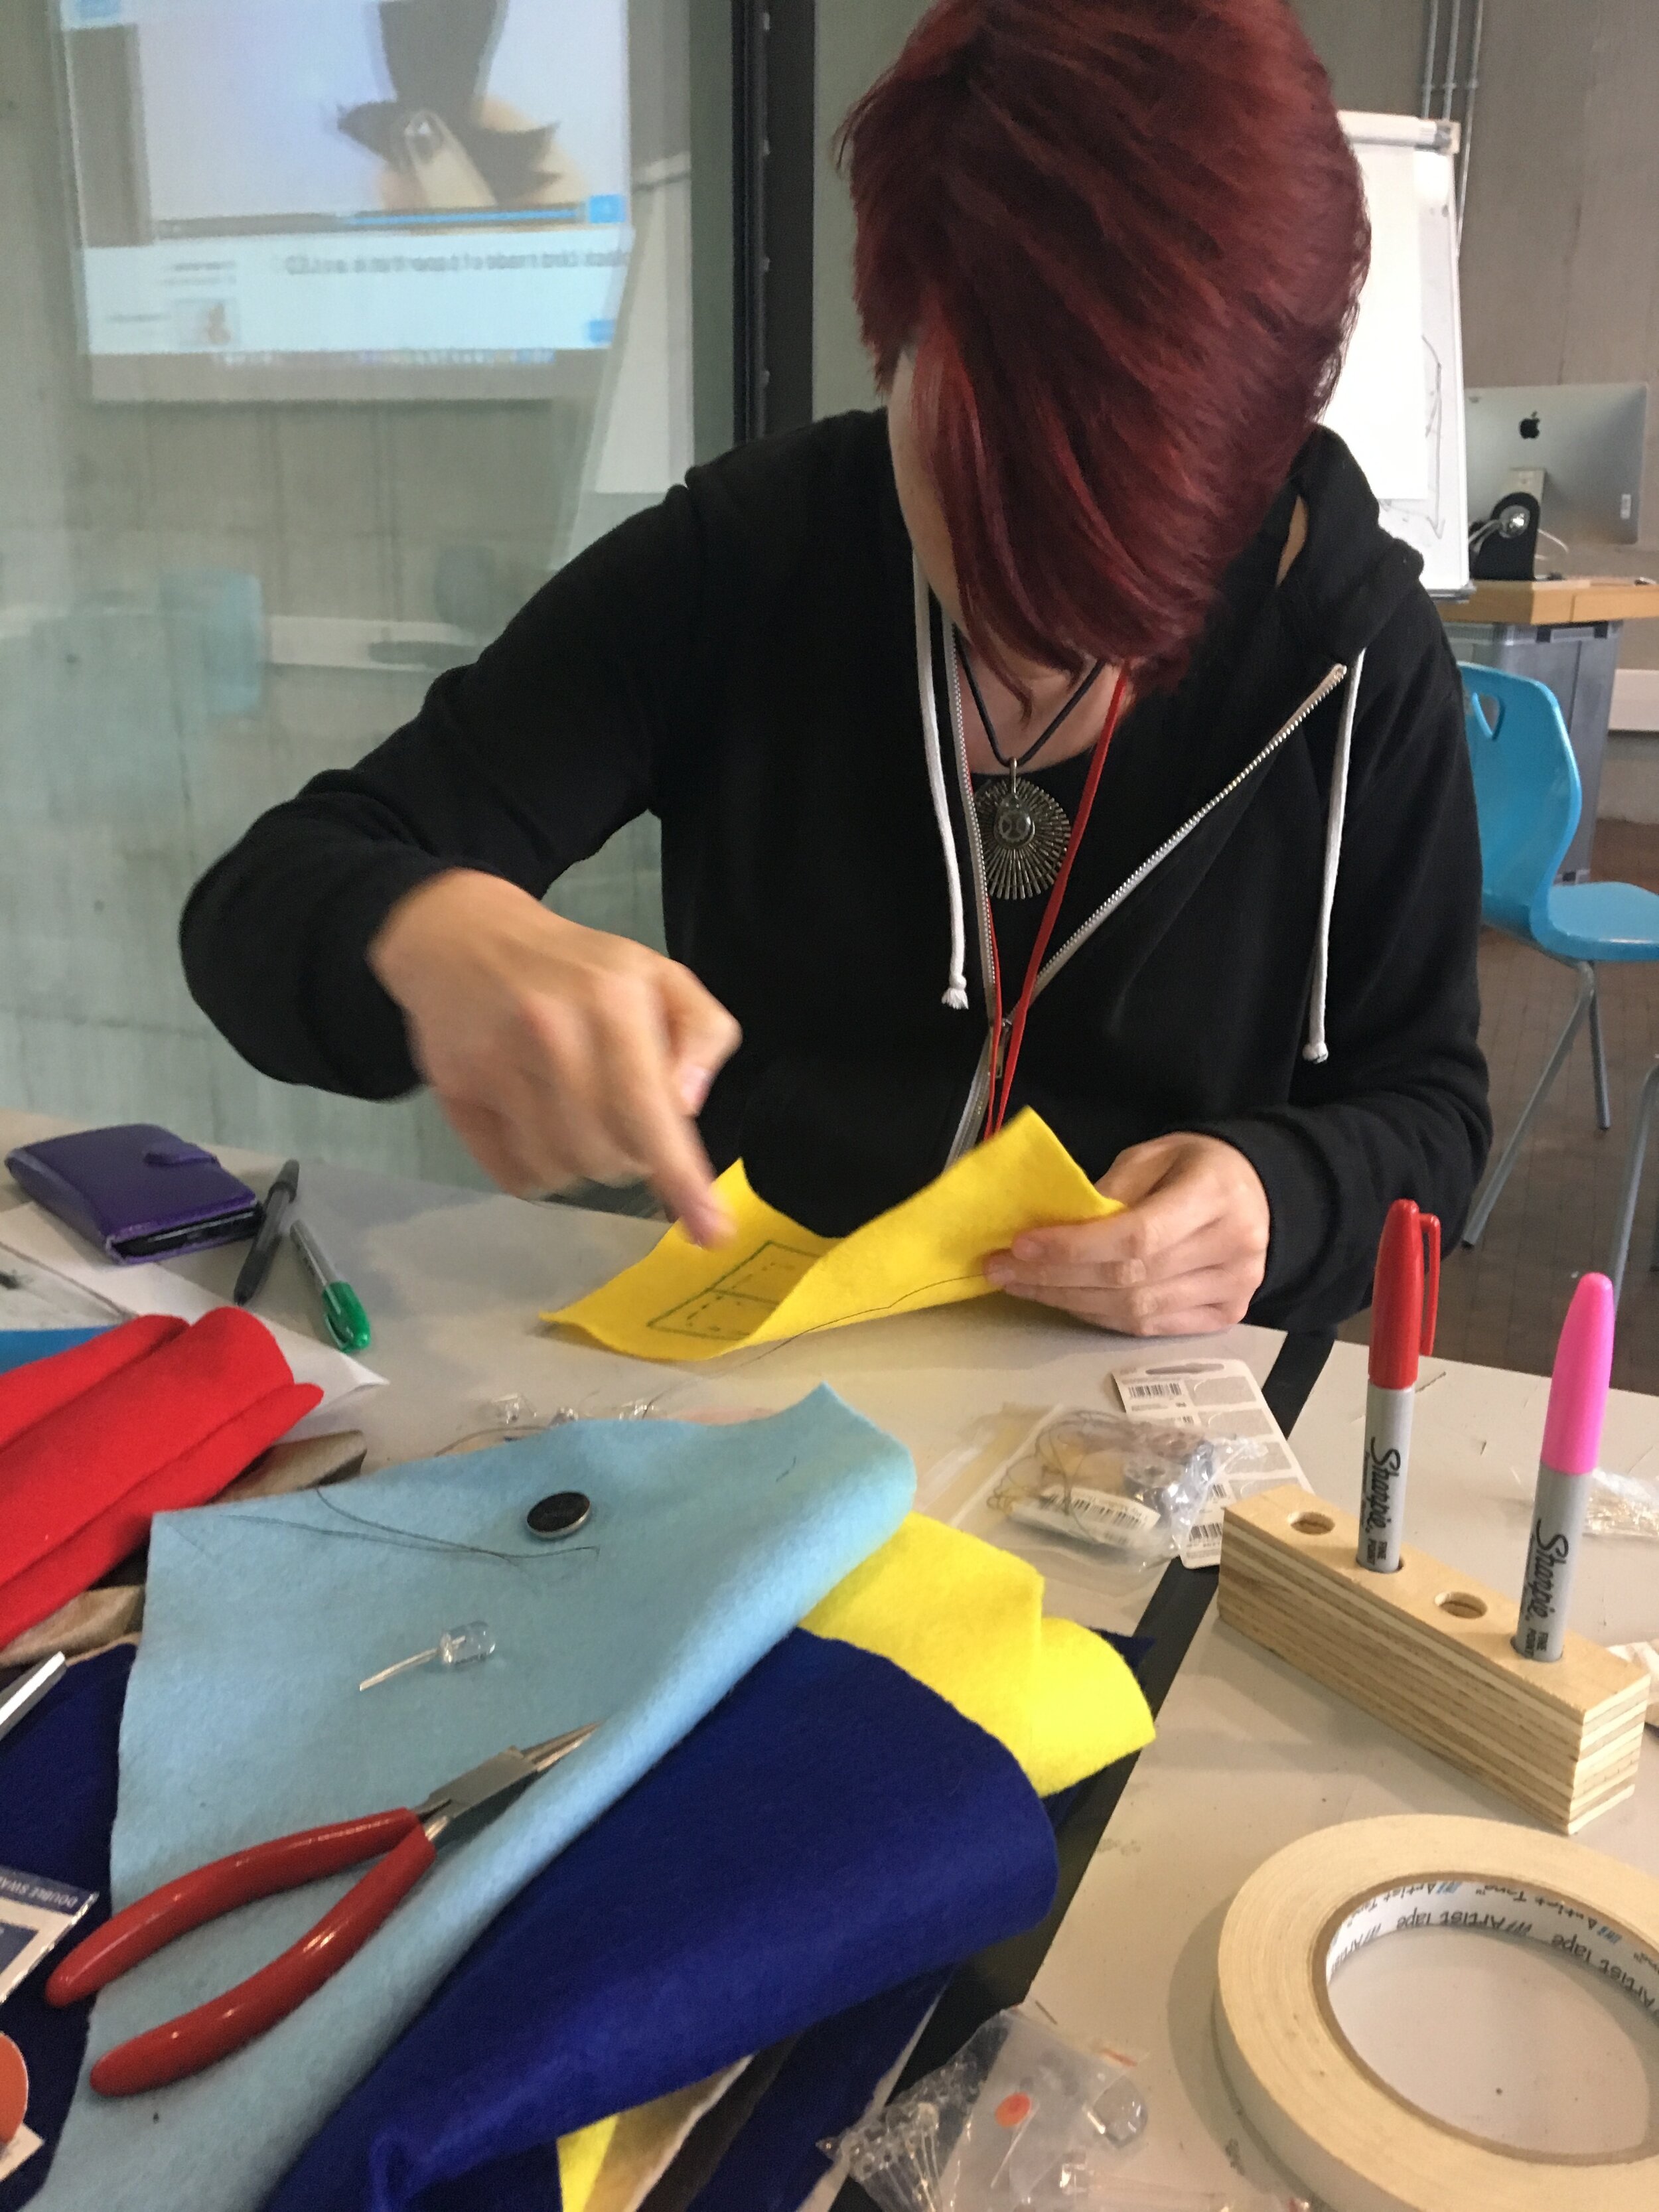
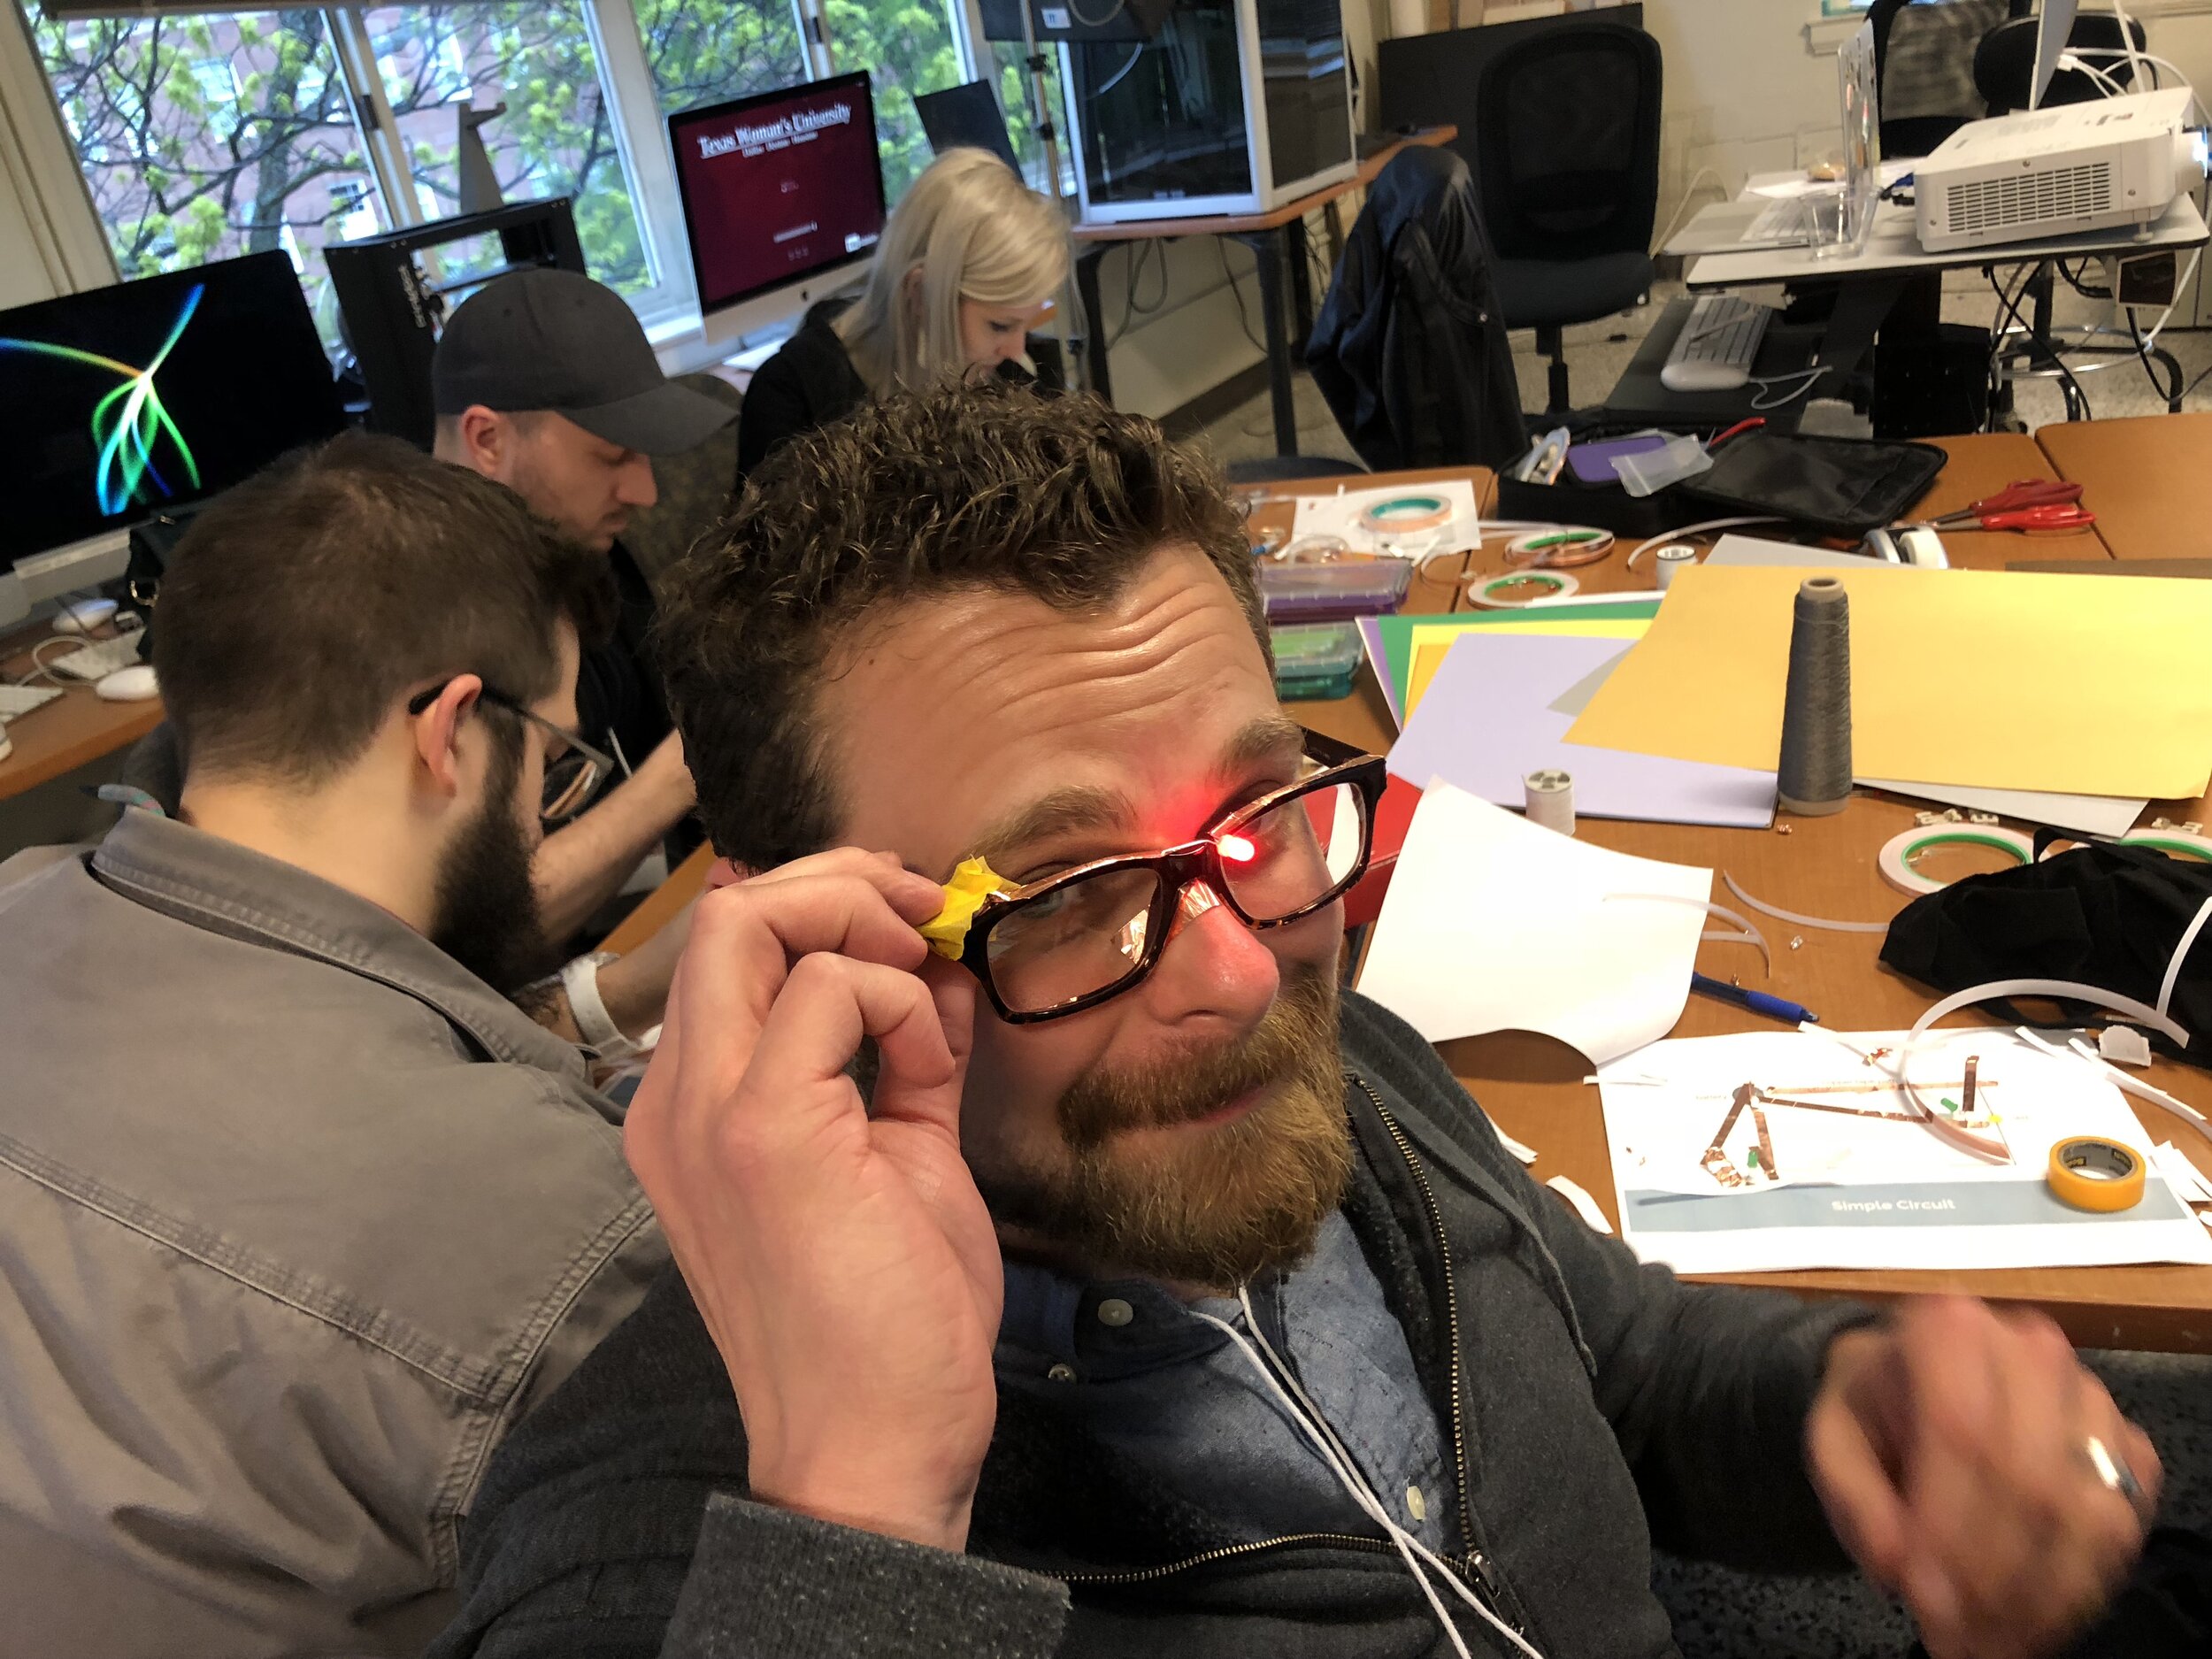
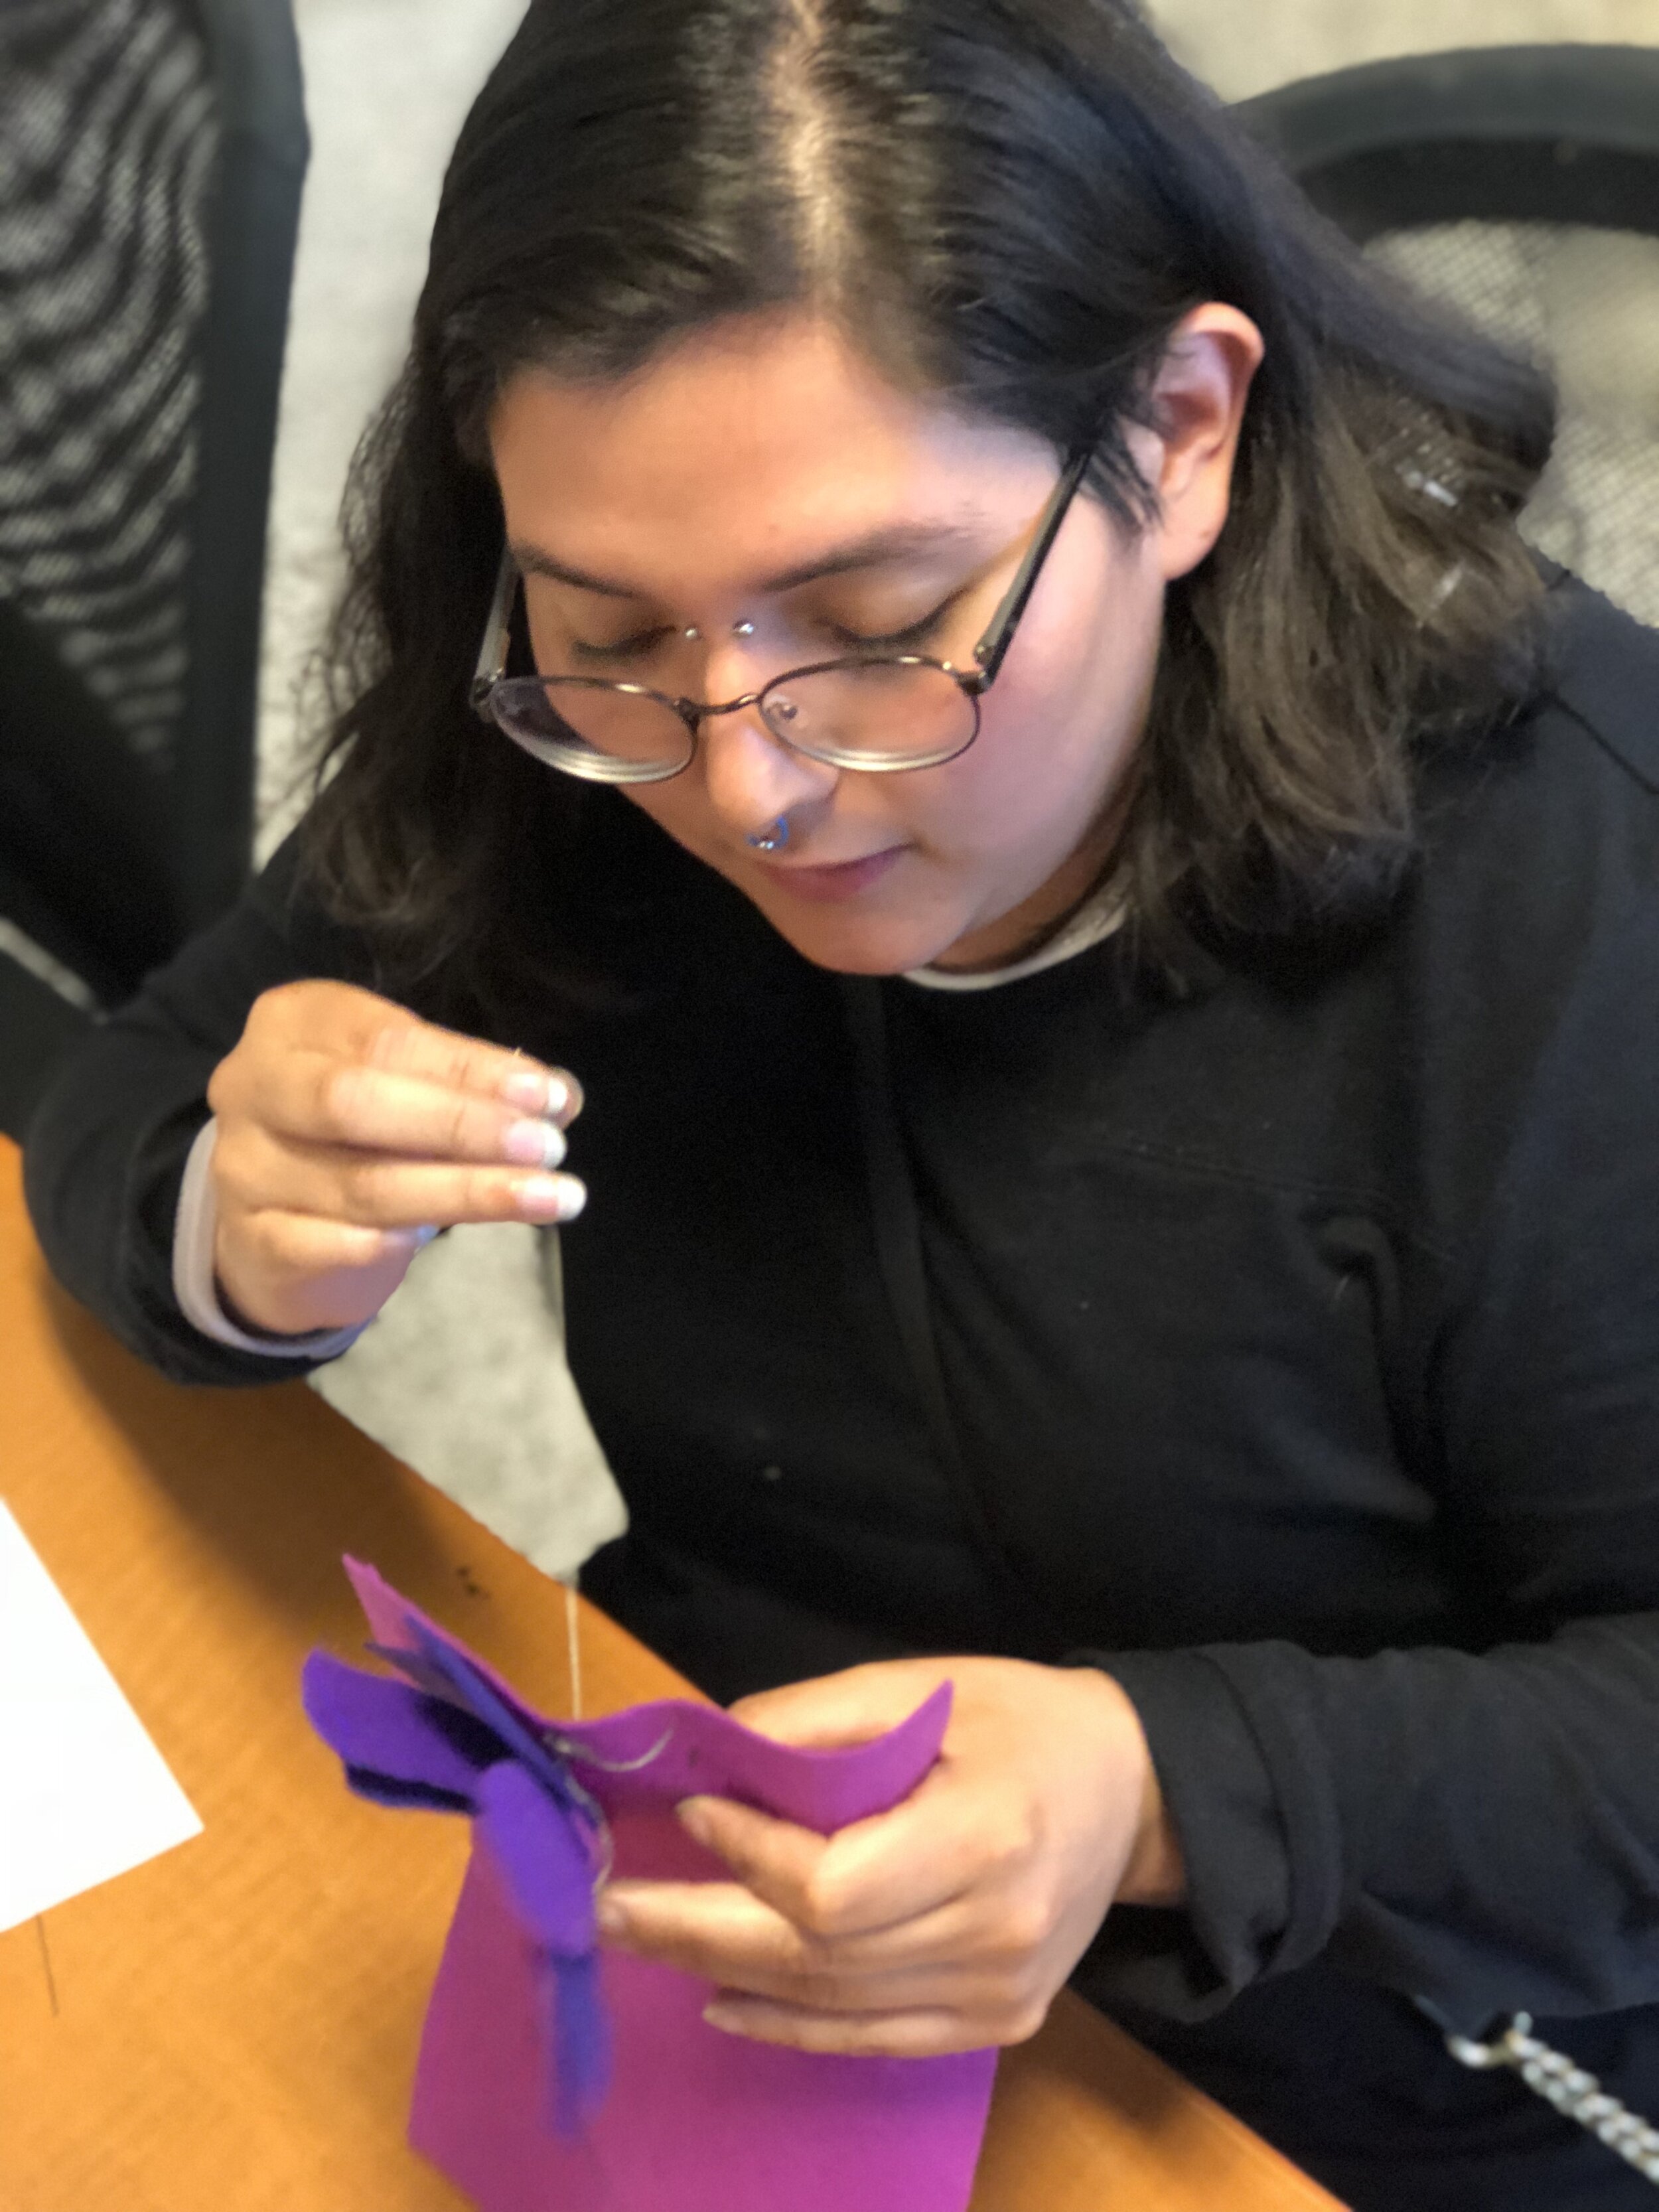
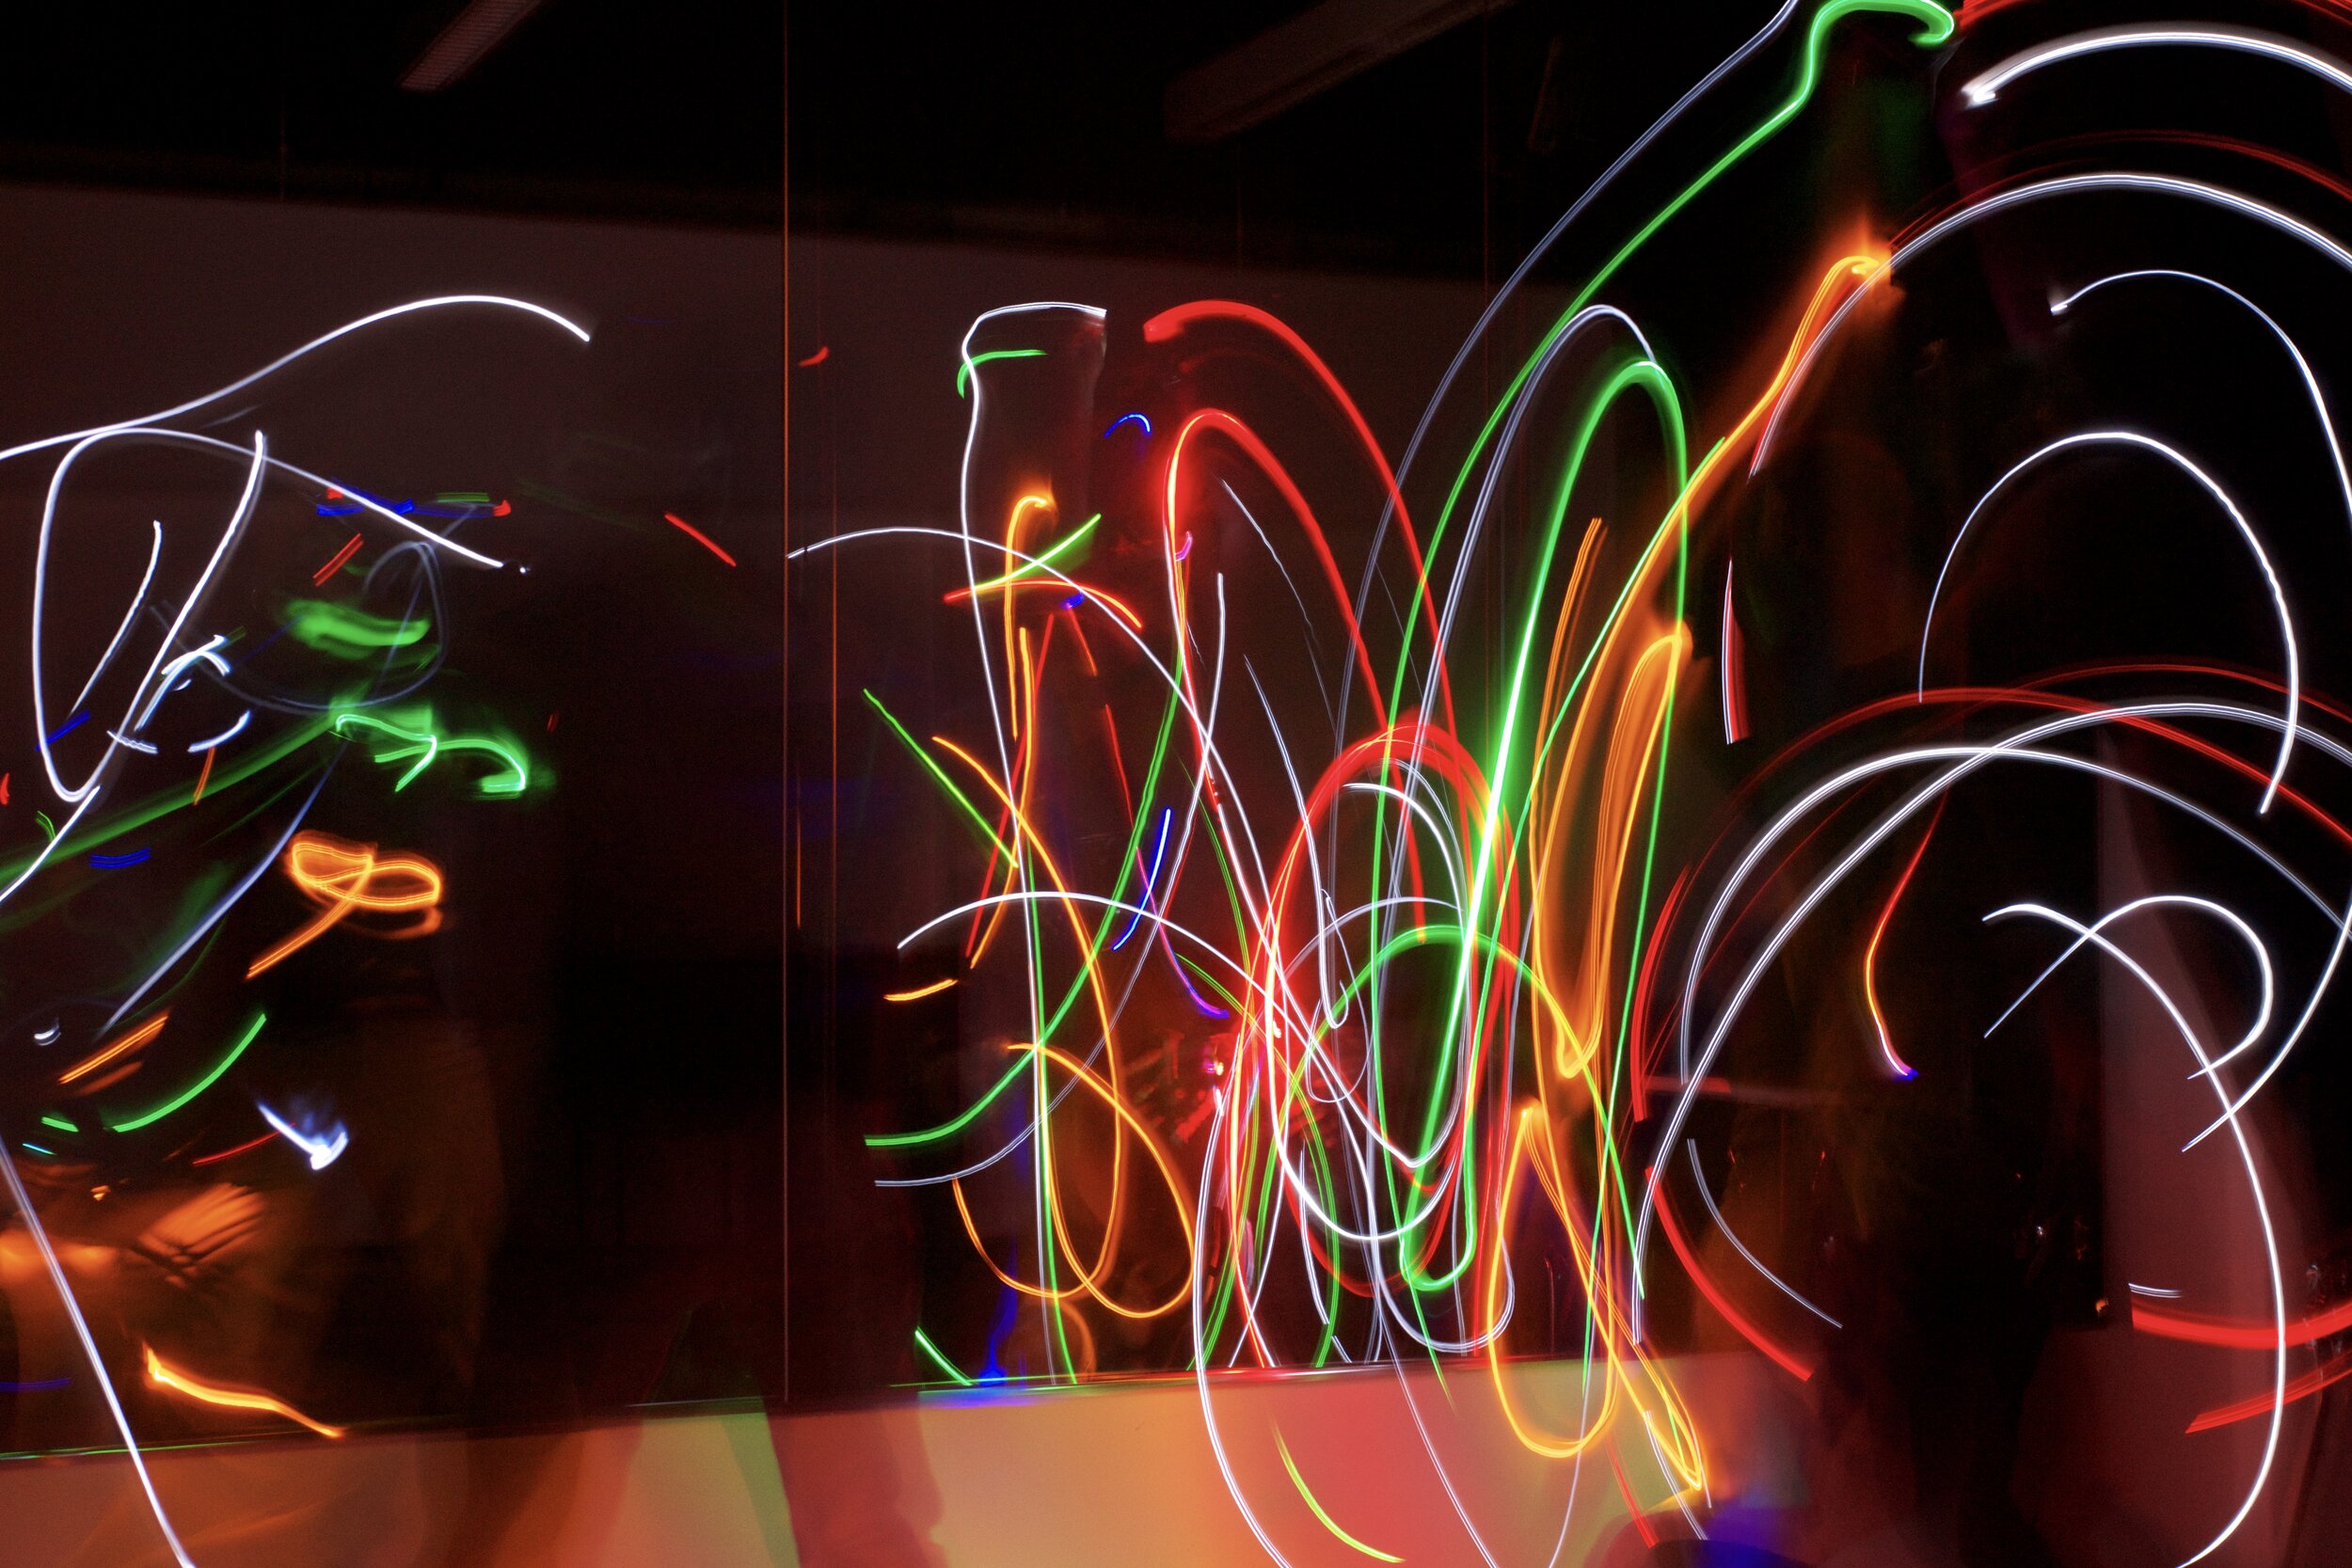
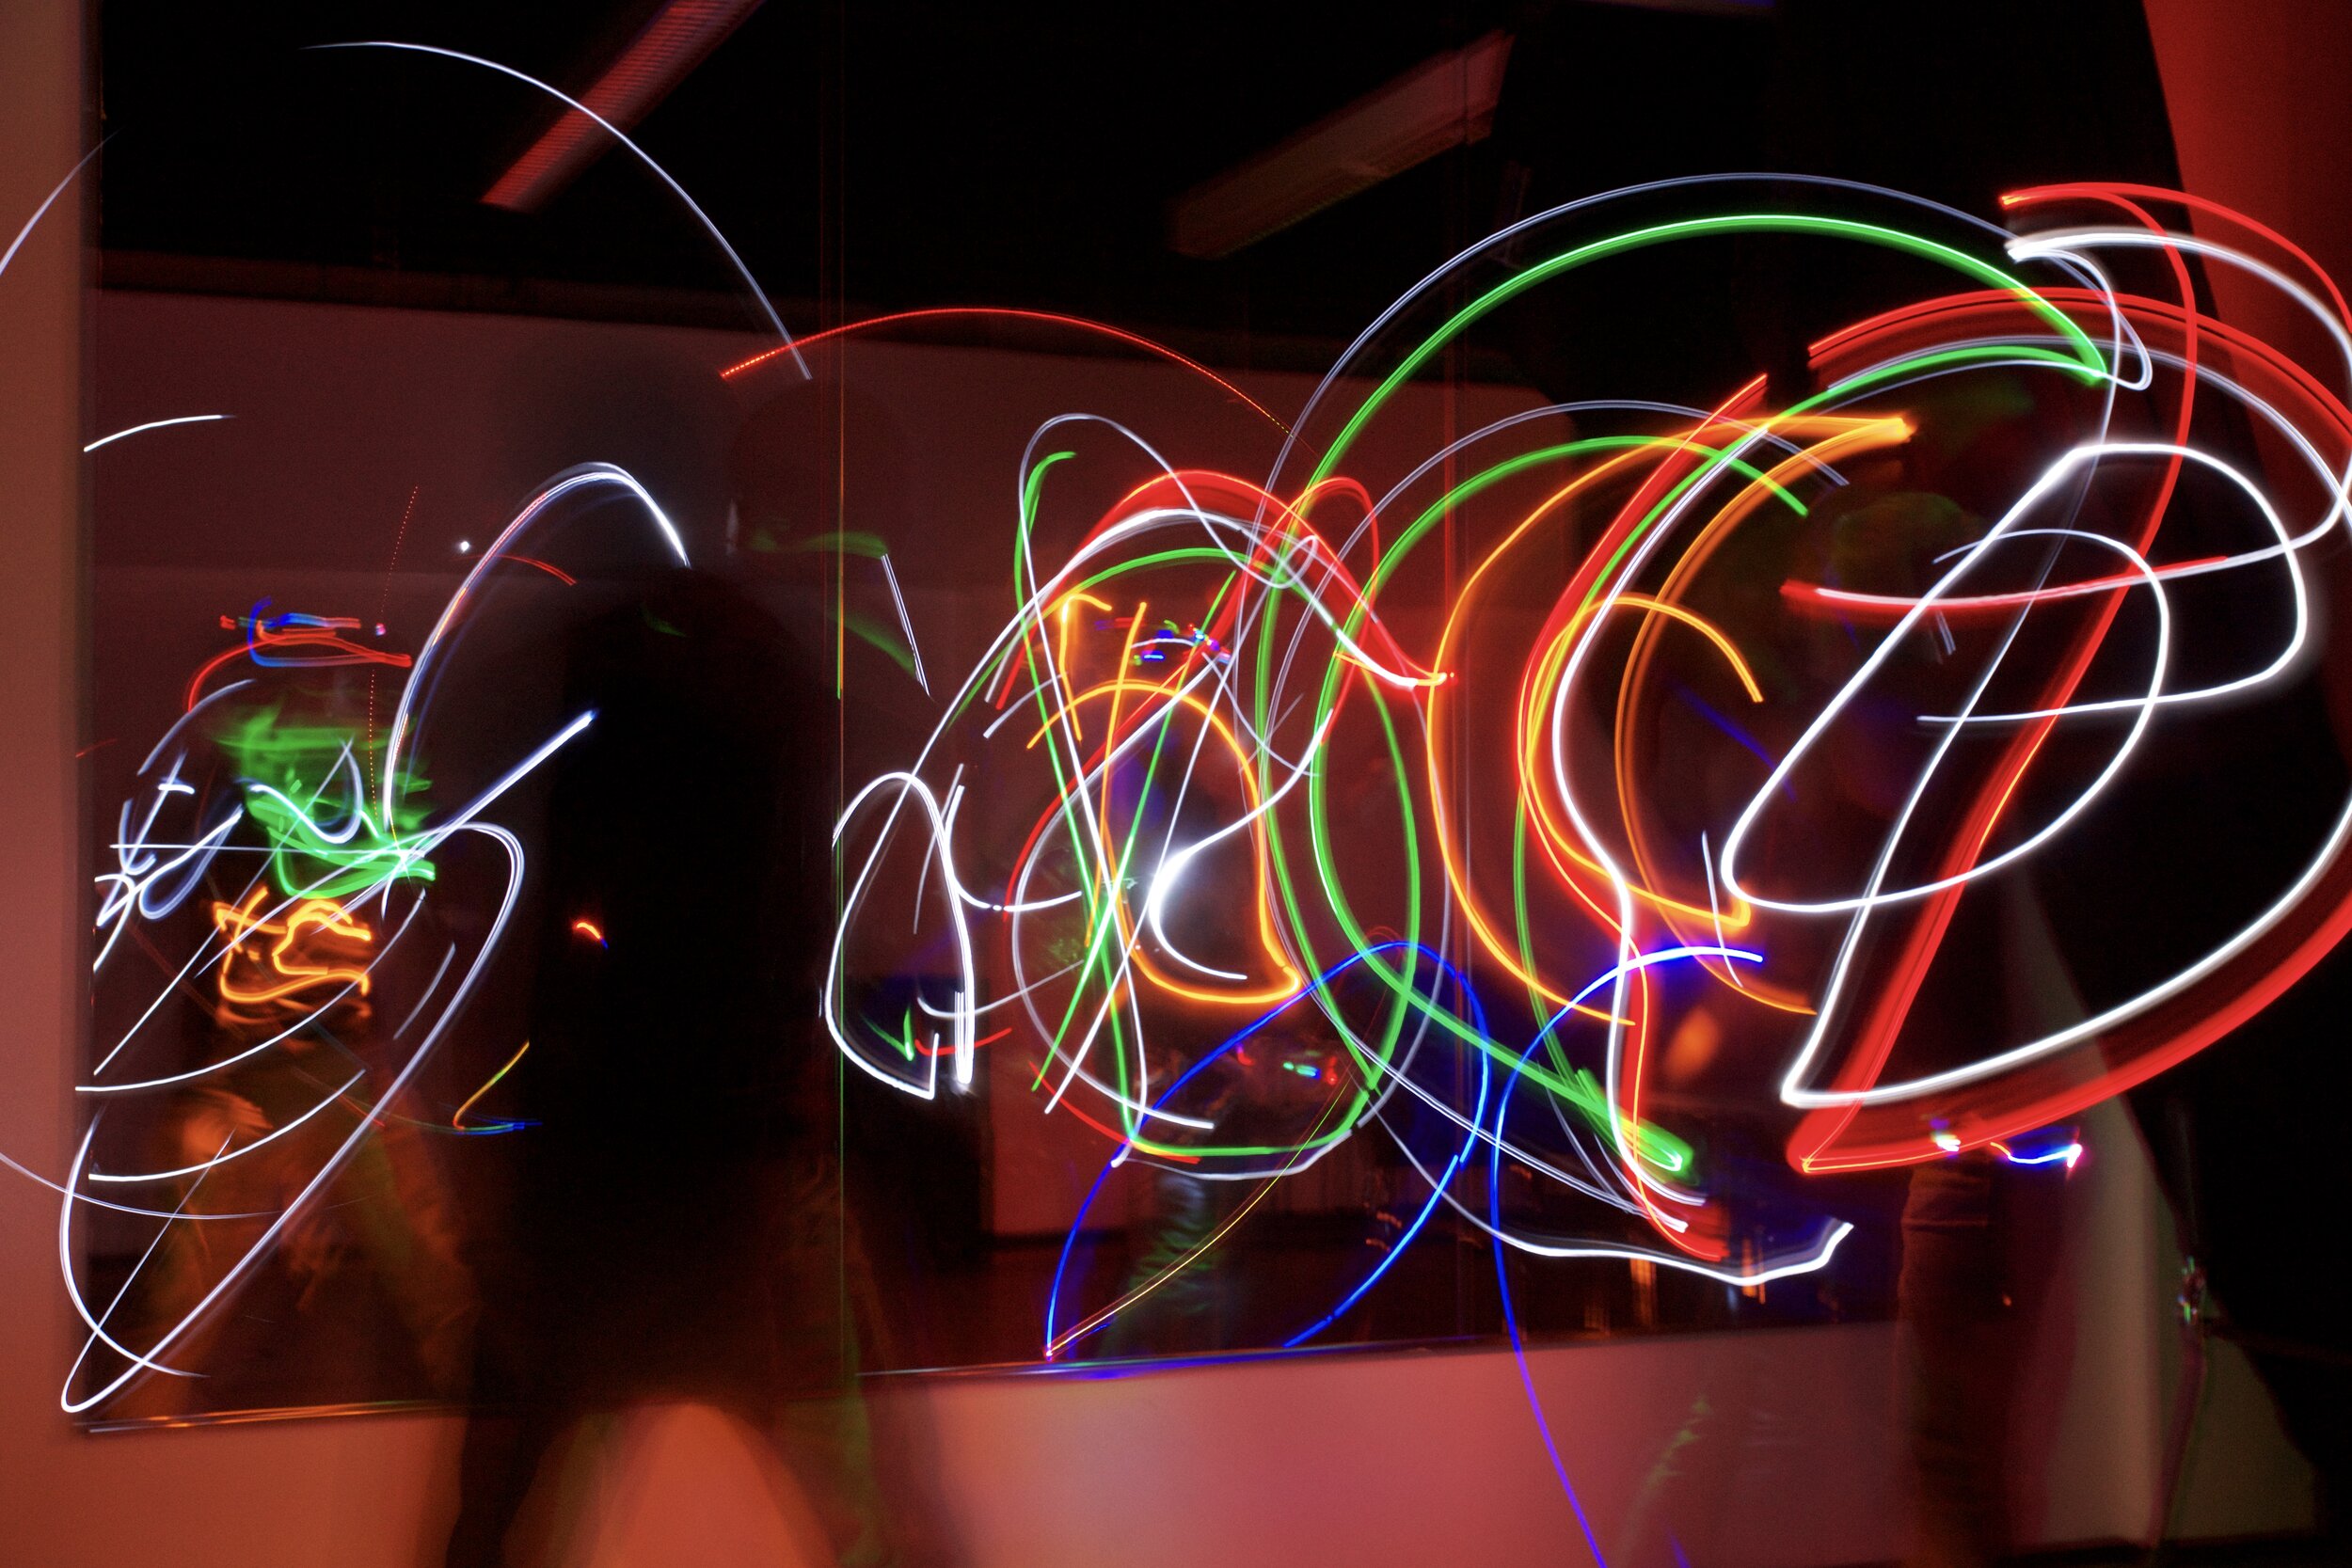
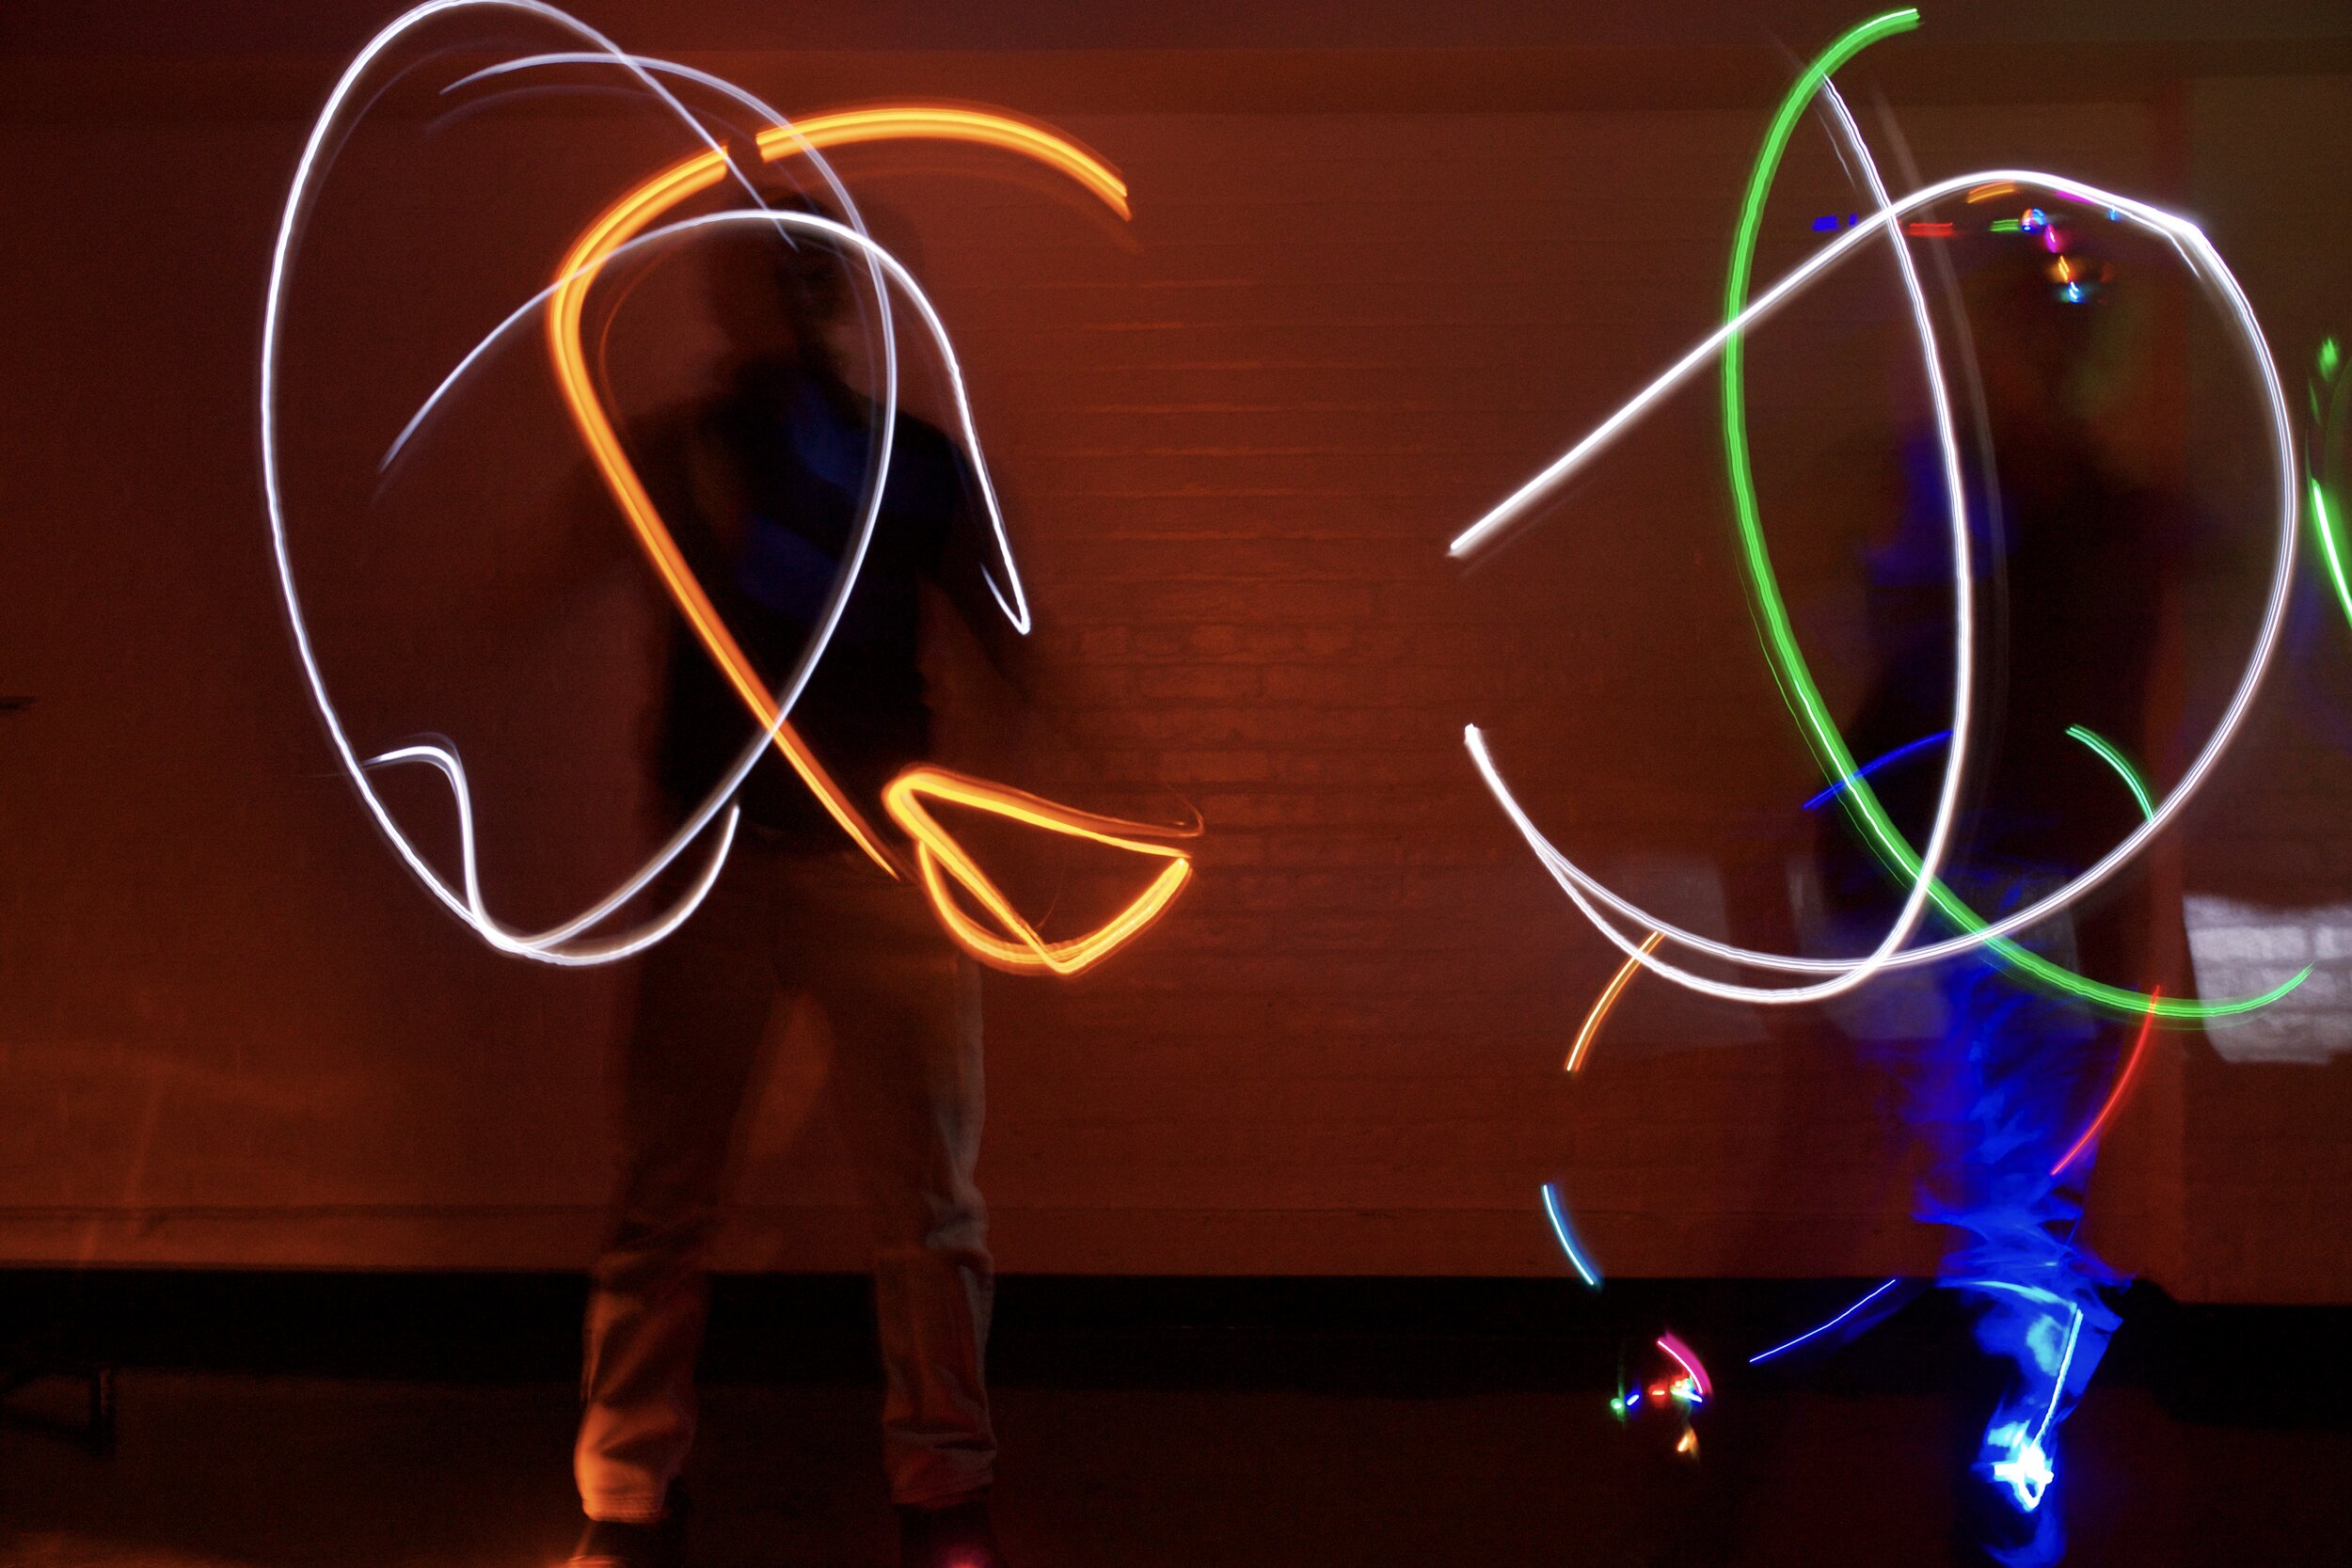
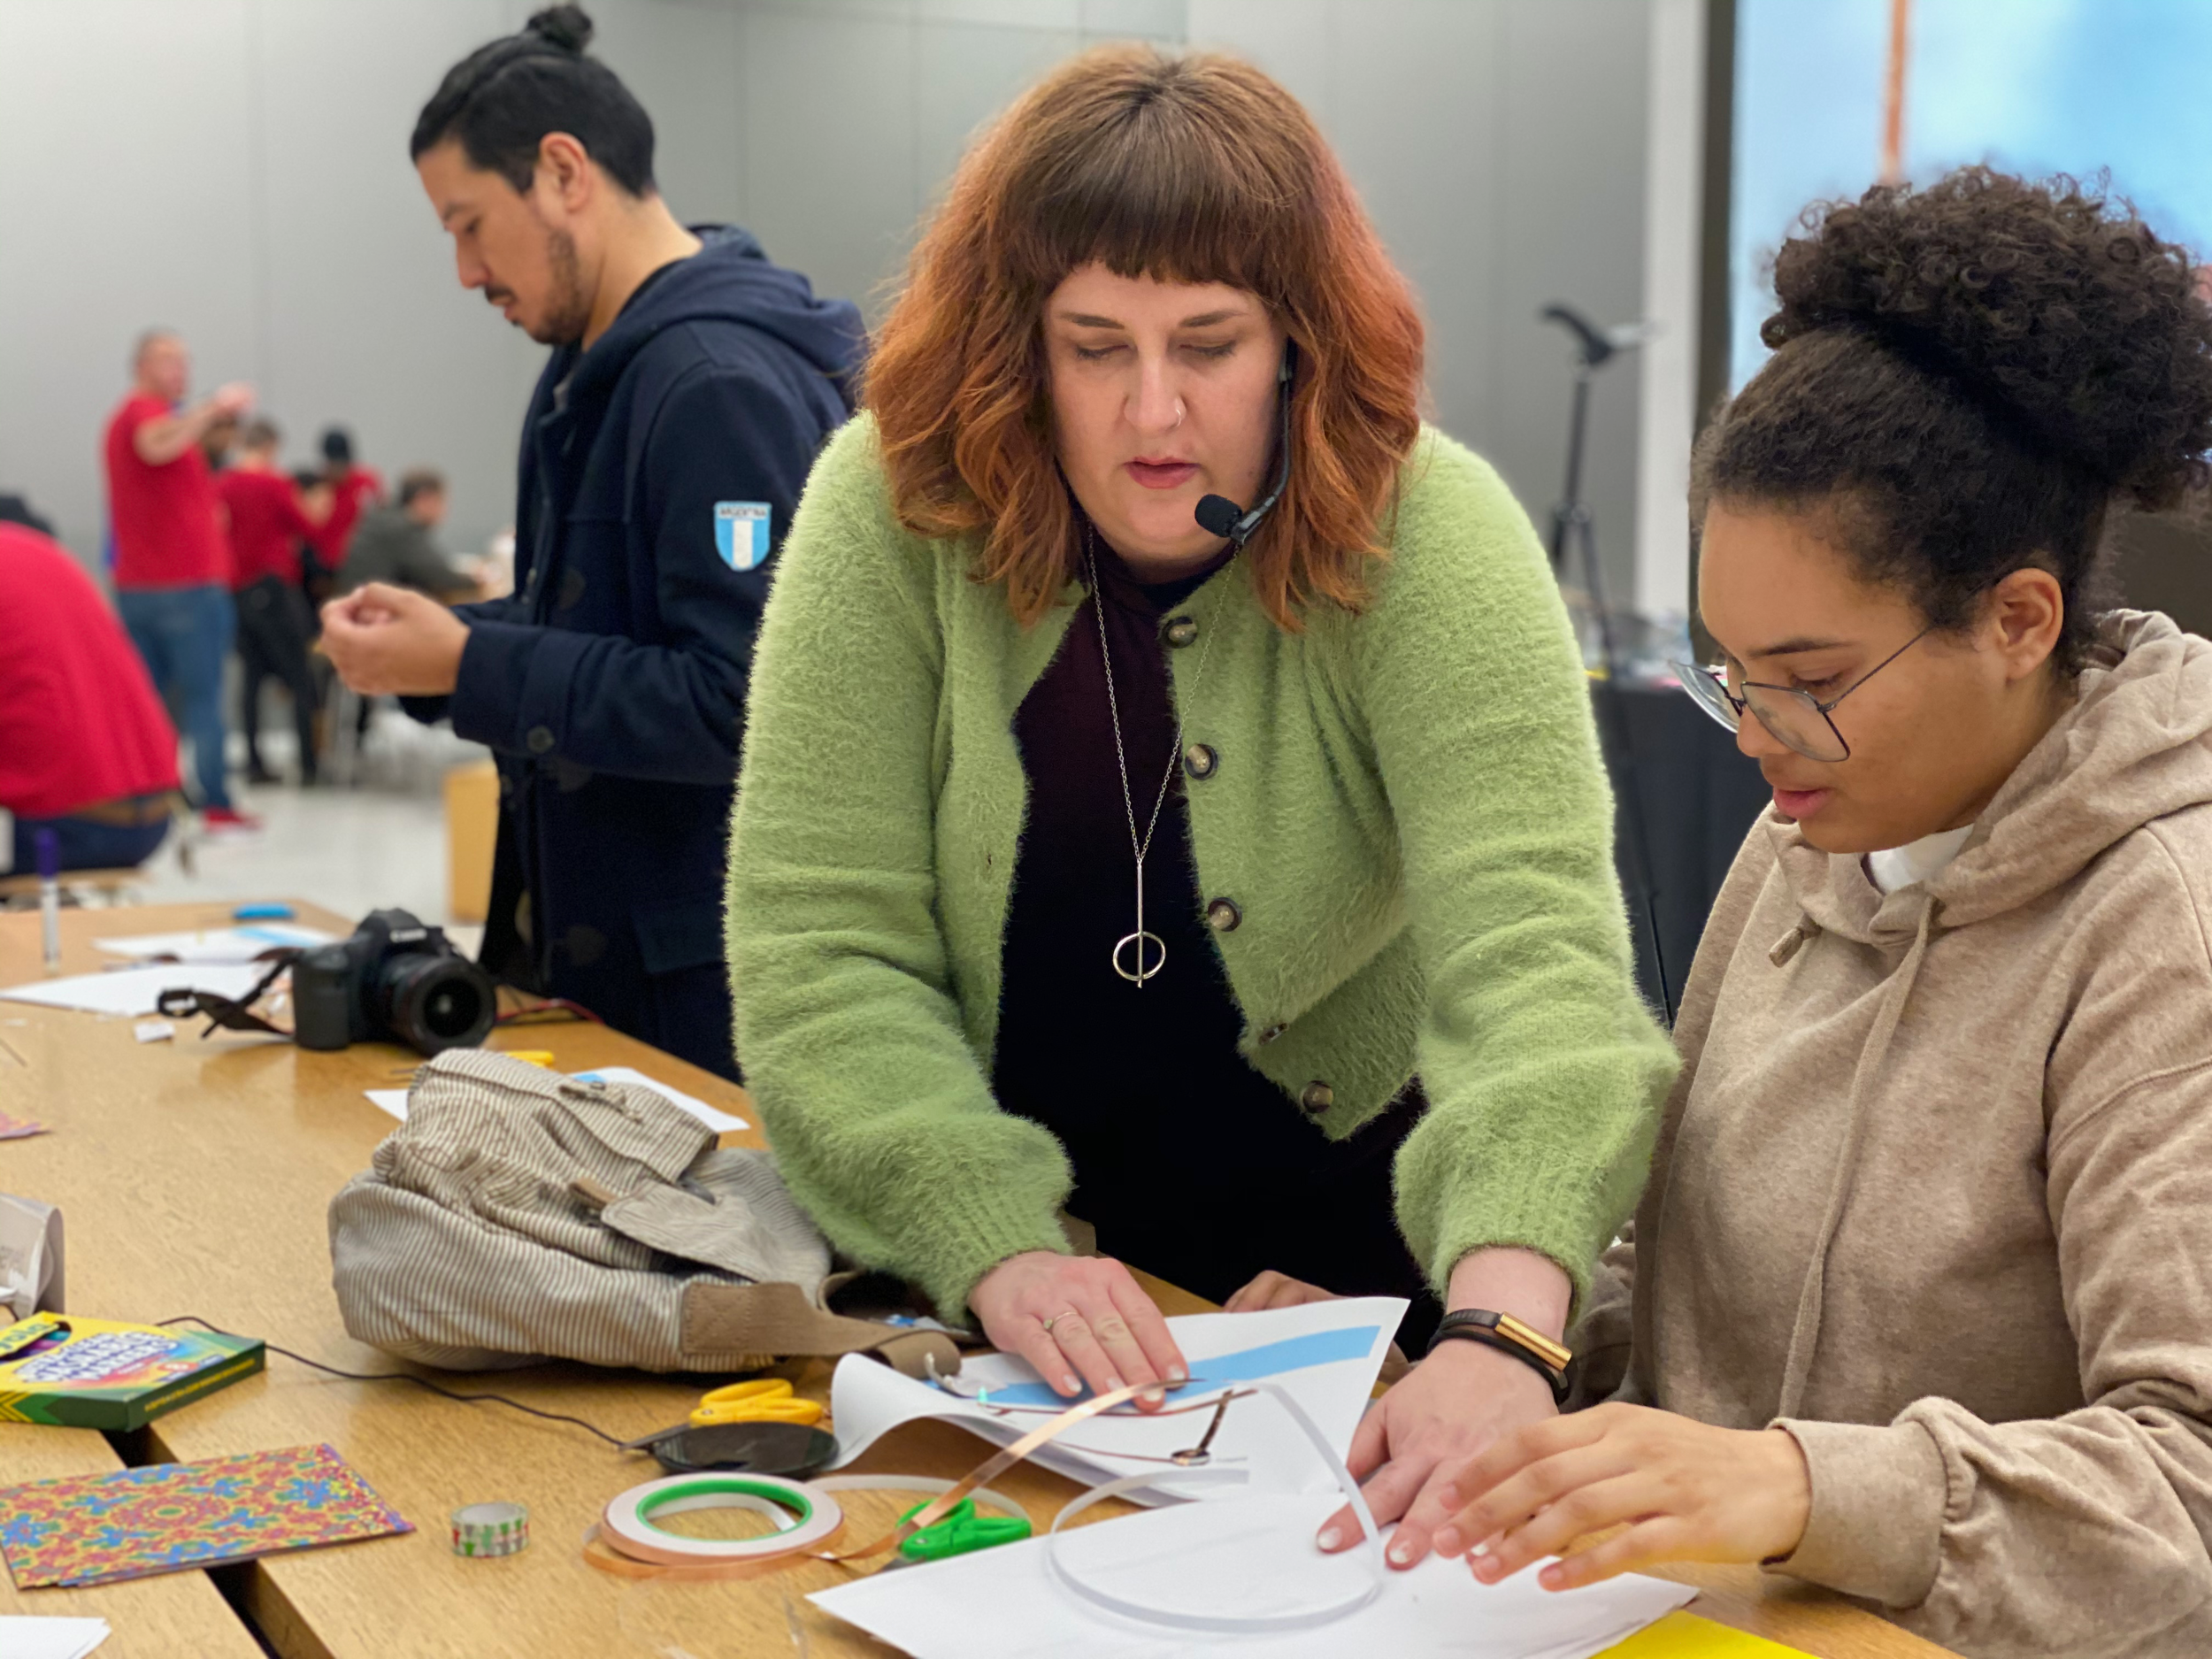
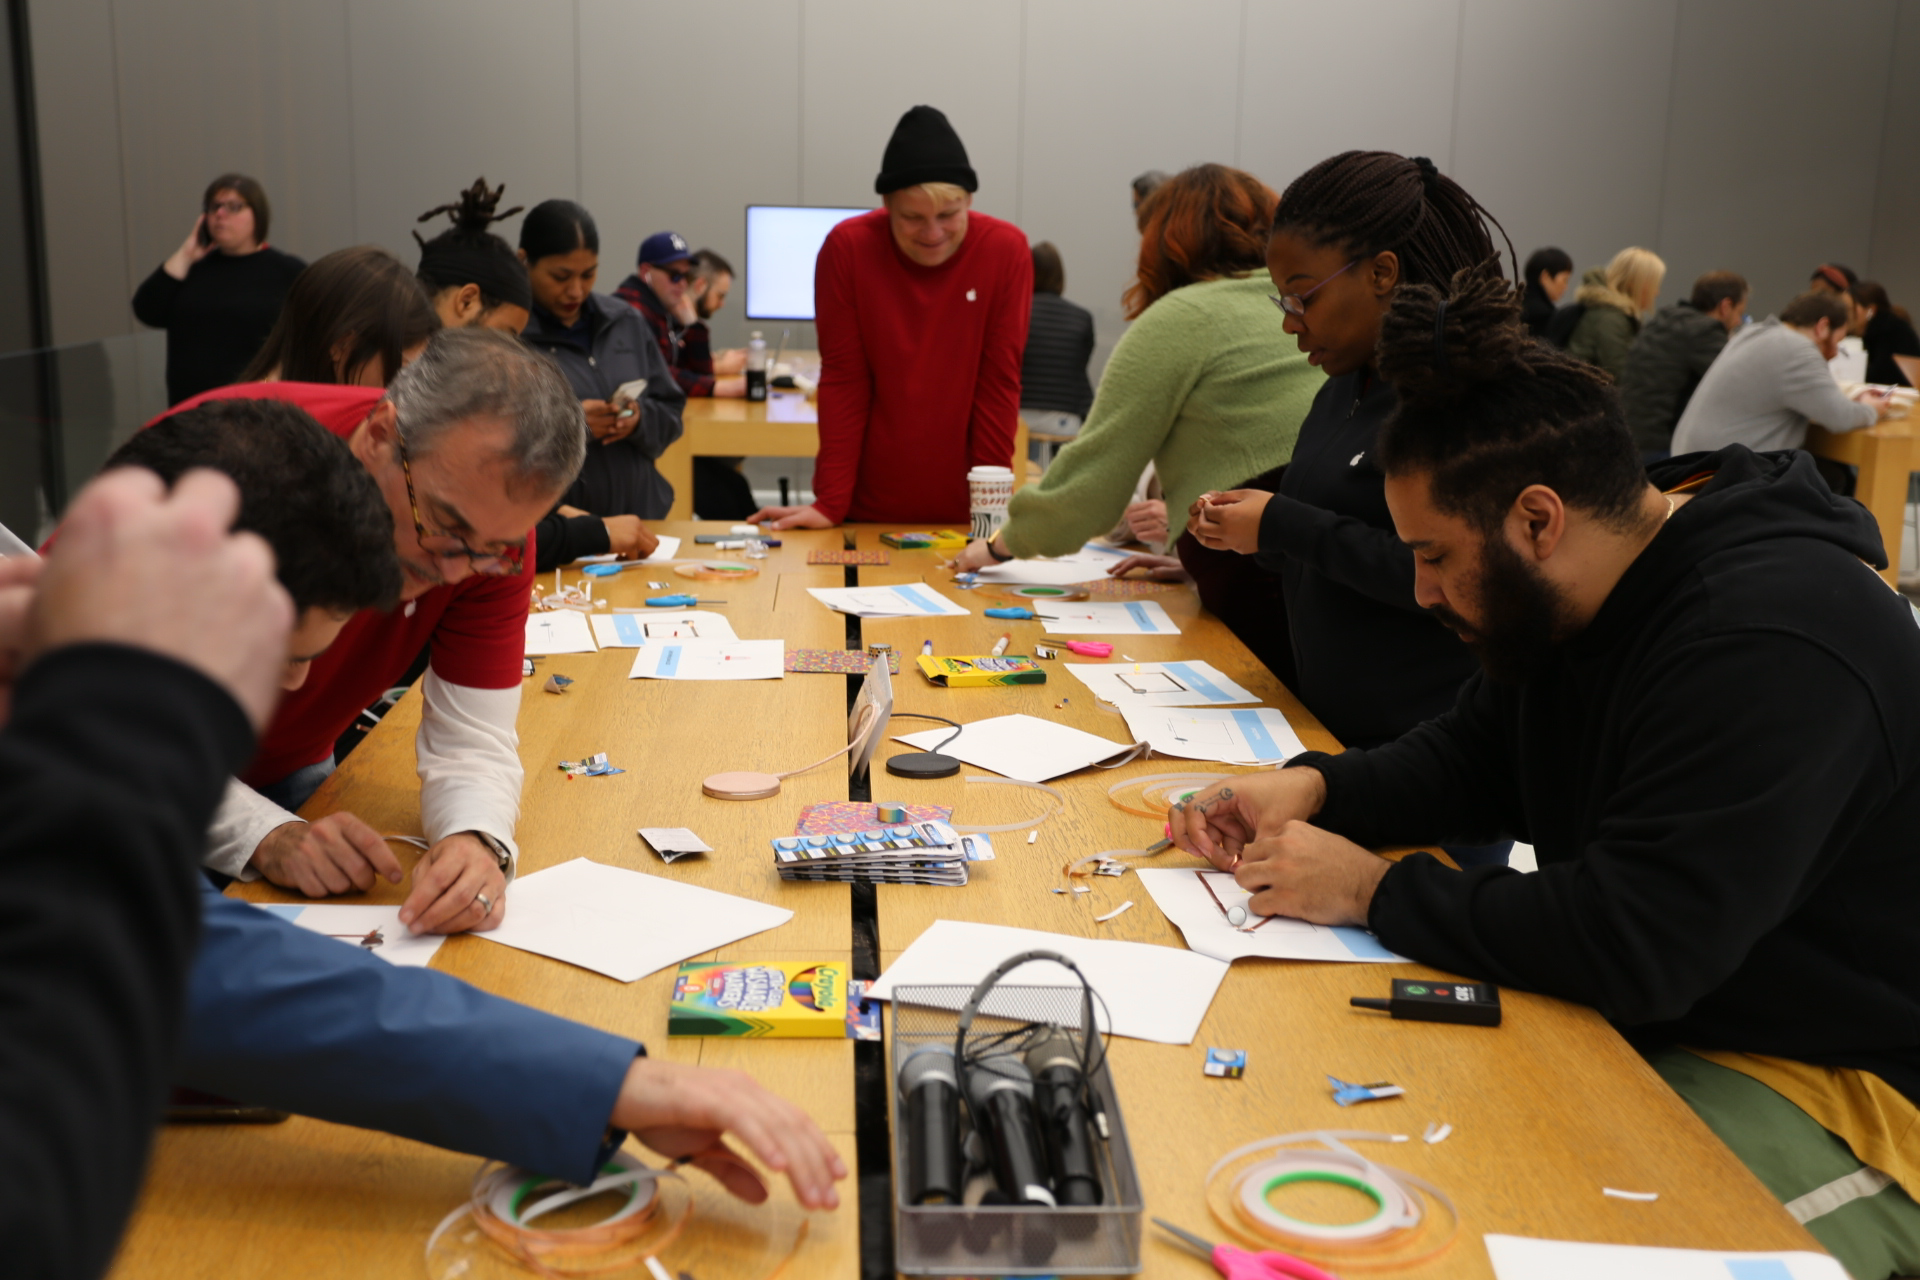
Here are some images from past soft circuits workshops I have taught:


Superhero Action Band Turorial

Image

Bam! Pow! Zap! We (Annelie & Niki) wanted to create fun, real-life superhero action sounds to bring out the superhero in each of us.

So we set about creating a movement-responsive wristbands that produces sound and light effects.

Introducing the SUPERHERO ACTION BAND!

We used a Adafruit Flora, Accelerometer, Piezo, Conductive Thread,  Li-po BatteryNeoPixels, headband and lasercut personalized plexiglass icons.  The icons were cut out of Plexiglass with a laser cutter and then attached to a store-bought headbands that we shaped with a sewing machine to fit the wrist. The Flora and accelerometer were attached with conductive thread. We then loaded the code to produce sounds and light effects depending on X,Y and Z coordinates and acceleration. The sounds were compiled from a sound library created by MIT and the lights using Adafruit NeoPixel
The hardest part was discovering the X-Y-Z access thresholds for the gestures that trigger the sound. We have three unique gesture sets that trigger three different sounds. Part of the fun is finding those gestures and discovering the sounds we programmed. We prepared this tutorial for all the superhero makers out there to make your own!

What You Will Need

Adafruit Flora Accelerometer Piezo Li-po BatteryNeoPixel A Headband Conductive Thread Solder and Soldering Iron Lasercut personalized plexiglass

library.
whatyoneed.jpg

The Process


Step #1 Laser cut the plexiglass

Here is a link to the PDF file of the bat that we created in Illustrator which you can use to Laser cut your own.


Step #2: Fitting the headband to your wrist

Take the headband and put it around your wrist. Make sure you mark where it fits you with a sewing needle or push pin. Take it off you wrist and turn it inside out to sew it closed. Make sure you leave a little room for your flora board to fit inside.

Step #3: Get the Flora up and running

First you need to download the program for the Flora from Adafruit and install it on your computer. Their website has pretty detailed instructions on how to do this.

Step #4Downloading the code
Next you will download the code from github and unzip it in your Arduino folder. Make sure that that the musical_notes.h file is in the same project folder as the superhero_wrist.ino file and that they appear as below when you open the file.

After you have opened the code in the Adafruit Arduino interface, select the Flora board. Next you will start assembling the circuit.

circuit.jpg


Step #5: Sewing the accelerometer to the wristband and the Flora

flora-accelerometer-main.jpg

Unplug the flora from your computer. Then sew the accelerometer to the flora as shown with conductive thread. Sew it to the outside of the headband, near the seam you created when you adjusted the fit to your wrist. Make sure that the thread is snuggly wrapped around each hole about three times.

Step #6: Sewing the Neopixel to the wristband and the Flora

Turn your bracelet around to the side away form the seam. This will be the front side of the wristband where you will affix the Neopixel and the plexiglass icon. Sew the Neopixel as shown onto the headband to the Flora.

floraneo.jpg

Step #7: Soldiering and sewing the Piezo to the Flora

Now you will soldier the piezo speaker to the flora board. The positive (red) wire will connect to the D9 loop on the Flora. The Negative (black) wire will connect to the GND loop on the Flora. Once it is soldered, you will sew it to the wristband using the two loops on the piezo.

piezoflora.jpg
superhero-large.jpg

Step #8 Attach the icon to the wristband

Attach the laser cut icons to a store-bought headbands that we sewed to fit your wrist. Make sure to place them in the center.

Step #9 Attach the battery to the Flora and watch the wristband go!